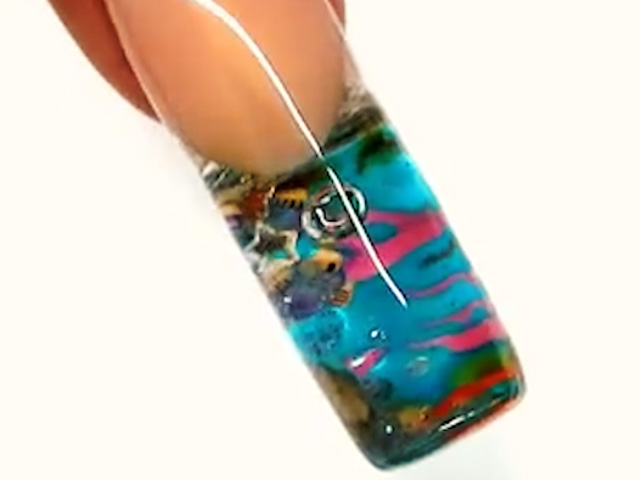
How To: Acrylic Design Nail Implant
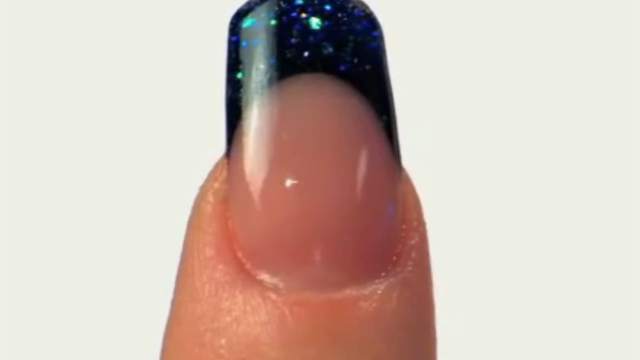
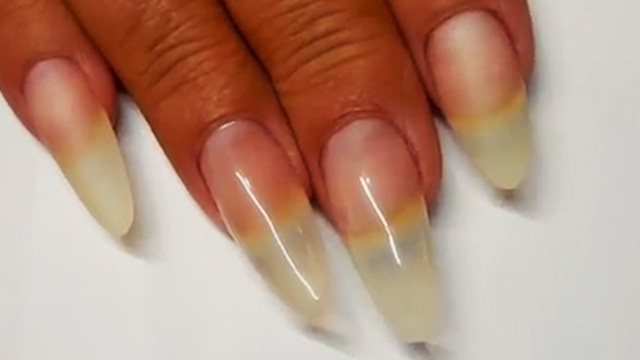
To get started, first try to make drills on the nail surface with a nail drill. Choose the size of tips which is suitable to the client’s natural nail shape. Don’t apply too much glue to stick the tips so the glue won’t run from under the tips. Use the cutter to clip the tips to obtain the desired nail length. Then apply the primer and the anti-fungus.
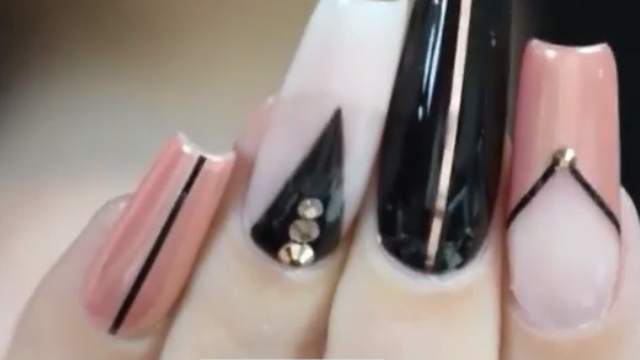
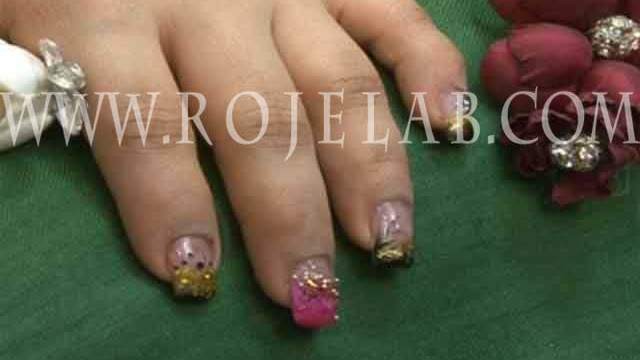
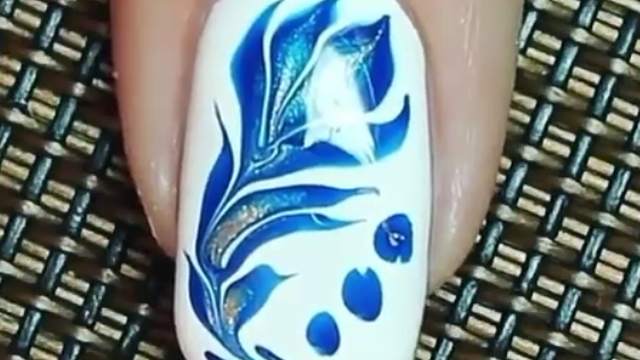
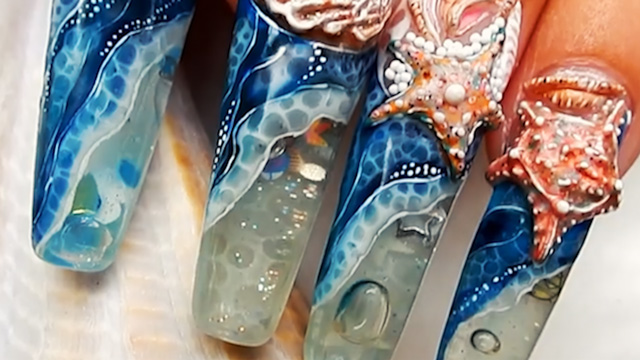
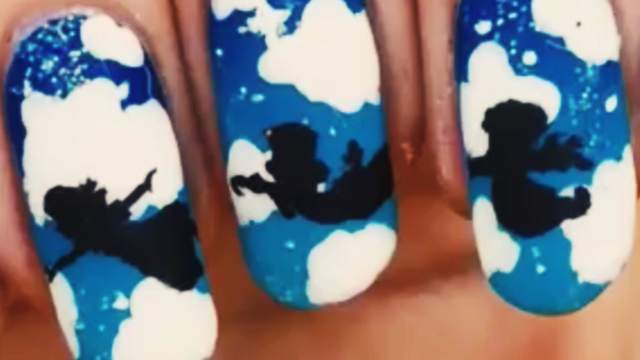
For the designing step, apply the colourful powder to make the nail design according to the personal taste. In the last step, take the manual nail file to thoroughly smooth the nails.
You can watch a full video below for the step-by-step instruction.
Instructions:
Hello everyone, I'm Arezoo Shafiee, today I'm about to show you the acrylic crystal nail implant with colourful powder design. To get started, first try to make drills on the nail surface with a nail drill. the next step, pick the tips in proportion to the nail size. and stick them to each nail plate using the nail glue. just note that we shall apply the glue on the thin part of the tip. use as much glue that it won't spill from under the tip. after putting the tip. wait for a few minutes, then start clipping the tips to the desired length with a cutter. again start smoothing the tips to make them level with the nail plate. in the next step, use the manual file to scratch the tips surface to eliminate the gloss of the tips. don't forget to apply the anti-fungus in this step. now apply the primer material. after putting the primer on each nail.
Use a flat-end brush to apply a thin layer of acrylic material on the free edge and spread it all over to the nail base. after completing the primary steps. For the designing step, again apply the primer on the nails. put the colourful powder, which is made of the same material as the acrylic, to make the design according to the client's taste. after a short pause, reapply the primer on the nails. This time use a mould instead of a brush to apply it. remove the extra material from the mould with a pusher. get the mould off the nail after the material is dried. and use the nail drill with a cone-shaped bit to remove the extra material from under and around the nail. in the end, use the manual file to make the nails uniform.