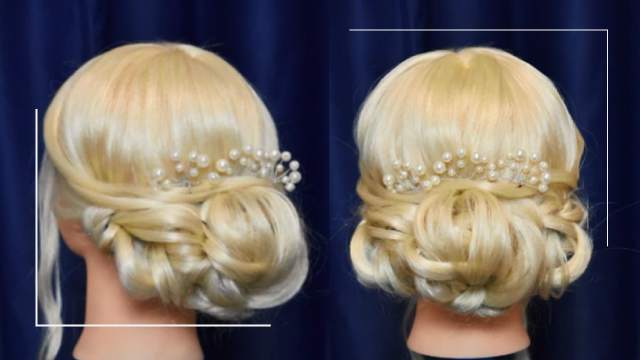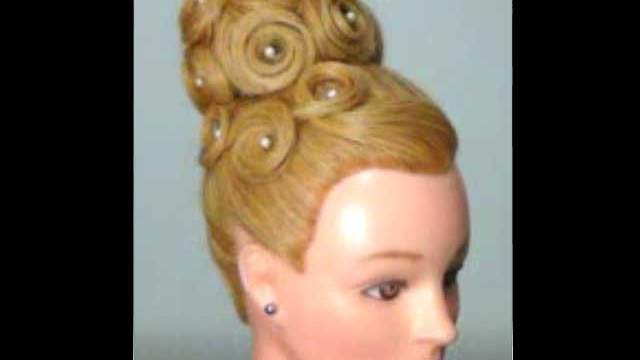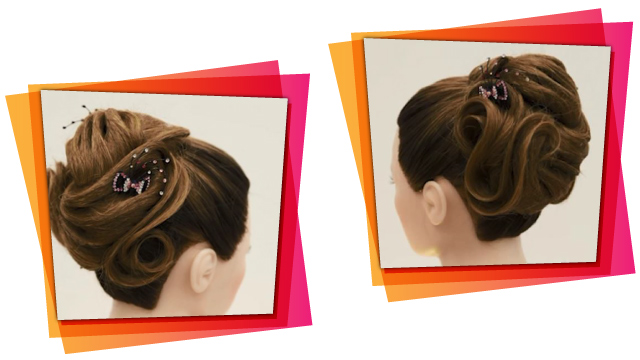
How To: Arabic Chignon Hair Style
In this tutorial, you will learn how to do a beautifully braided chignon. This video was provided by Mrs. Bakhshi.
Instructions:
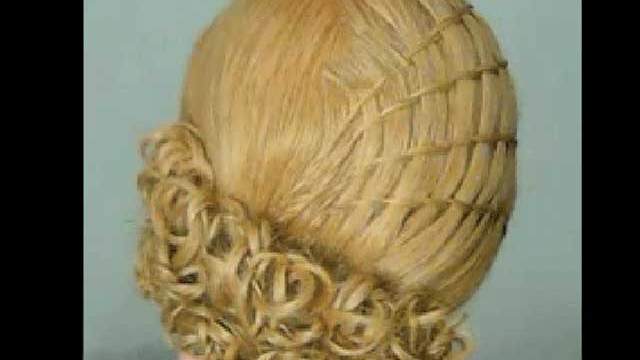
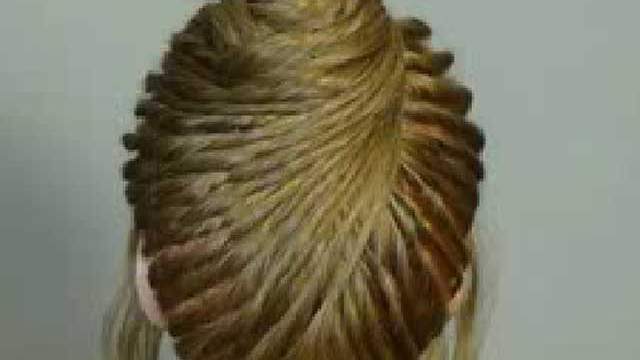
To begin, start on the side of the ear, separate one layer, brush it and then separate it into three smaller layers. Now start braiding the hair. Pull the layer on the right to the middle and then put the layer on the left on top of it. Now add one layer from the right to the braid and keep braiding the hair by repeating the process. After each braid, add one layer to the hair from the right, put the layer on the right to the middle, the left one on top of that and keep braiding like this.
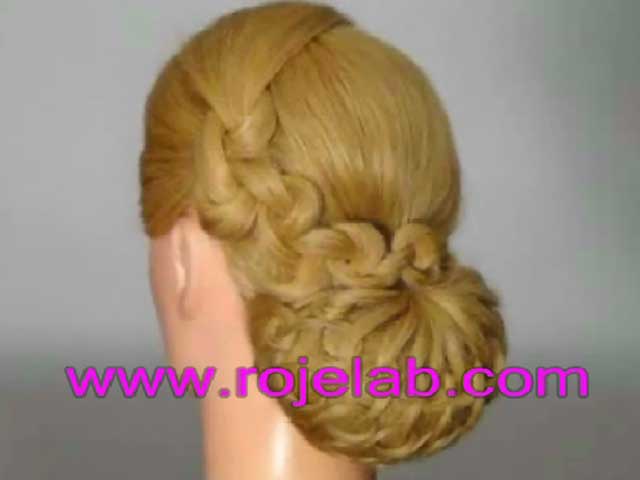
As you braid the hair and add layers to it from the right, your braid should move to the middle of the head towards the back. As you can see, with this method you will end up with a beautiful diagonal braid. As you progress further, pull the layers in the braid back to keep them in line, aligned, and prevent the hair layers from mixing. Make sure to separate the layer from the top of the hair and a little thicker because this way the braid will look much better. Keep braiding until you reach the ear on the other side.
When you have braided the hair all across the head, keep braiding the hair using the remainder of the hair layer on the other side of the head. Braid the hair layer until you reach the end and then tie the bottom with a hairband. Take the braided hair layer and put it aside or just flip it over the head as I did here. Separate another rather thick layer from the upper backside of the head below the crown, brush the hair, twist the layer and then hold it down with a hairclip. Now brush the layer below and hold it at the bottom with two hair clips. Remove the hairclips from the upper layer and brush it thoroughly.
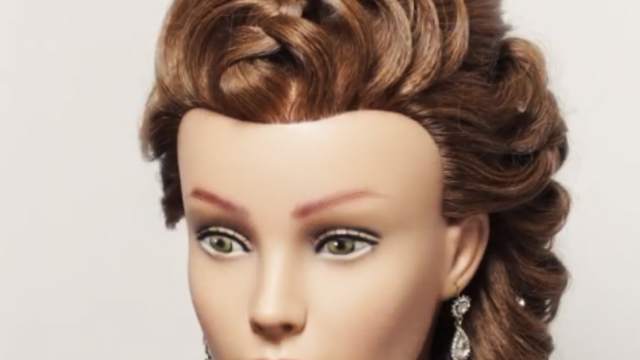
Flip the layer on the other side so it hangs in the face and now, use the tip of your brush to separate a thin part of hair from the back of the layer. Brush the layer and tease it with a teasing brush near the root. Widen the layer and put it on top of the lower layer of hair. Separate another section the same way, brush it, tease it close to the root, widen it with your hand and cover the lower layer with it. When you are done with this layer, move to the other side again and pick another layer of hair, brush it, tease it near the root, and then put it on the other layers like before. Continue doing this until the whole layer is complete.
Now brush the surface of the layer to reduce frizz. Take the layer from the two sides of it, pull it together and then hold the bottleneck with a hairpin right below the crown of the hair. Use the tip of your brush to smooth the surface of the hair on the crown. Now take the remainder of the hair in the back, brush it from all sides thoroughly. Hold the layer in your hand and then use a hairband to tie the hair at the base. Use two clips on each side of the hair in the back of the neck to hold the hair. Take a wide hair prosthetic and attach it under the ponytail you made in the back using hairpins on either side.
Separate one part of the ponytail, brush it, widen it a little and cover one side of the hair prosthetic with it. If necessary, you can add more hairpins to the prosthetic to make sure it is fixed firmly in place. Take a thin layer of hair, twist it, and put it on the top border of the hair prosthetic and fix it with hairpins. Separate the rest of the ponytail into two parts. Hold one part on the side, straighten the middle part, widen it and cover the middle section of the prosthetic with it. Fix the hair layer on the prosthetic using hairpins. Take another thin layer from the side of the prosthetic and fix it on top of the prosthetic using hairpins. Now take the last remaining layer, brush it, widen it, and cover the other side of the prosthetic with it. Now fix it using hairpins. Take another thin layer of hair from the side of the prosthetic and cover the edge of the prosthetic with it.
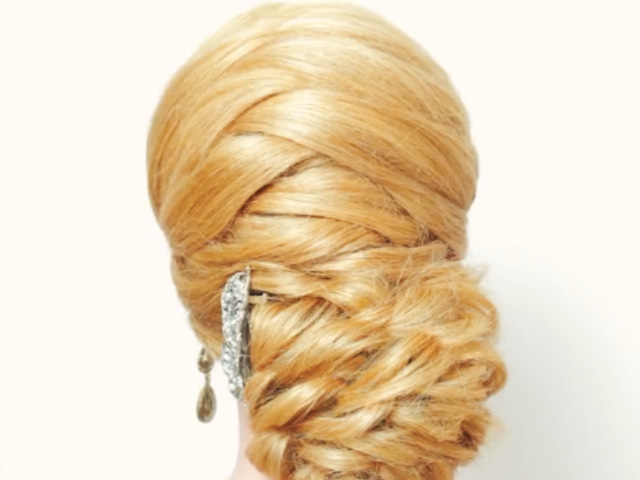
Take the braided layer of hair that we had put aside, bring it back down on the prosthetic, and tie it at the base using a hairband. Fix the layer in place using a hairpin. Take the remaining part of the braid hanging on the side and put it over the edge of the prosthetic and over the hairband. Make sure to widen and loosen the braid a little to make it look better. Hide the end of the braided layer under the prosthetic from the side. Use hairpins to fix the braid to its place and loosen the layers with your hand a little. Now apply some hair spray to the braided layer to make sure it stays in place and to reduce frizz. Take the remaining layer of hair poking out from under the braid and separate it into five parts. Separate them out in equal distances from each other and then fix them on the hair prosthetic using hairpins.
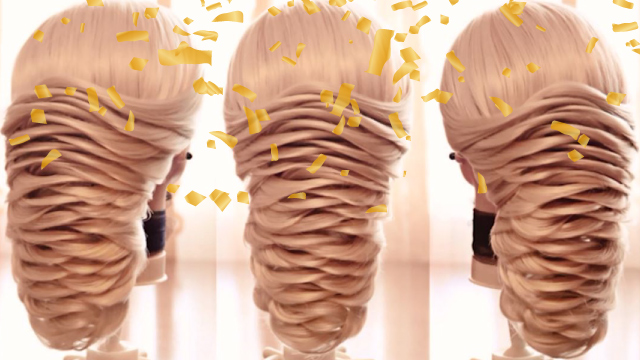
You can tuck any remaining bits of hair under the rest of the layers to make the chignon look neater. Spray the hair with some styling spray to fix them and touch the surface with your hand gently to reduce frizz. Our chignon is done. I hope you have enjoyed this tutorial.