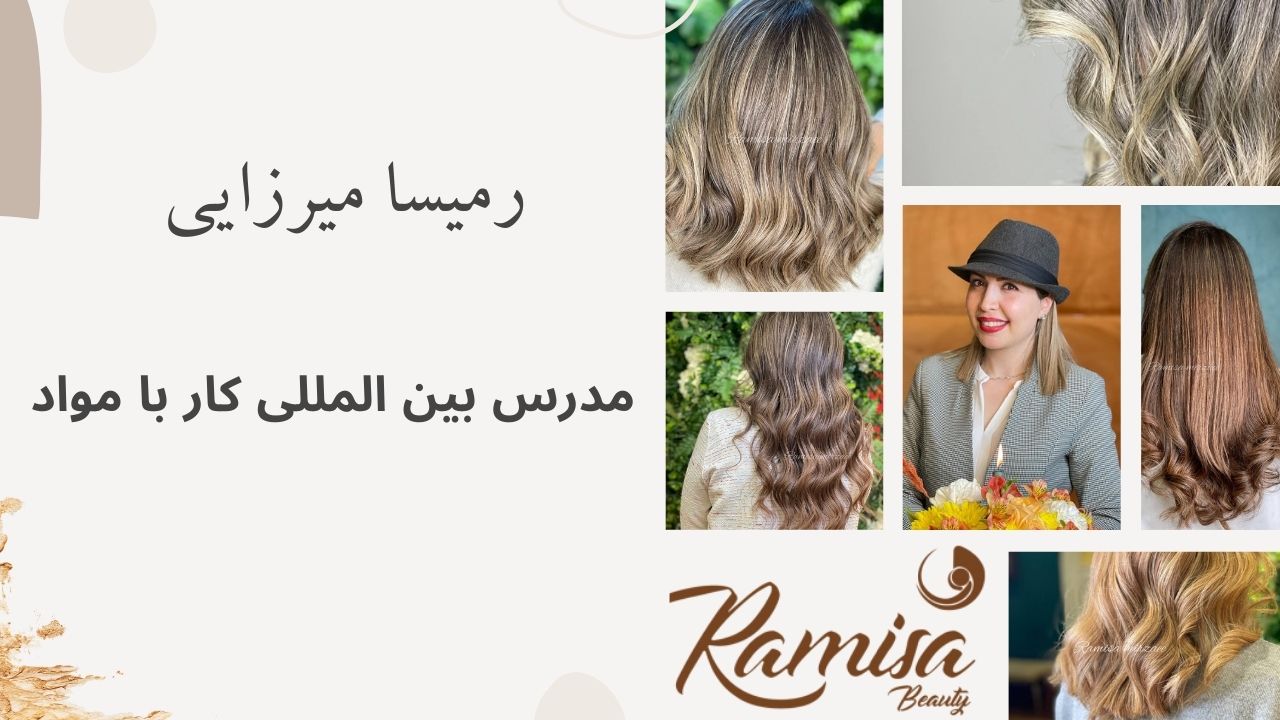
How To: Lighten Hair With Balayage
In this tutorial, we’re going to show a stem lightening process using the balayage technique. A few key points about formula and product usage will be explained also. This video is provided by Mrs. Anousha Shafi’e.
Instructions:
Greeting. I’m Shafi’e from Ostoureh Beauty Salon. Today I want to talk to you about a new balayage technique.
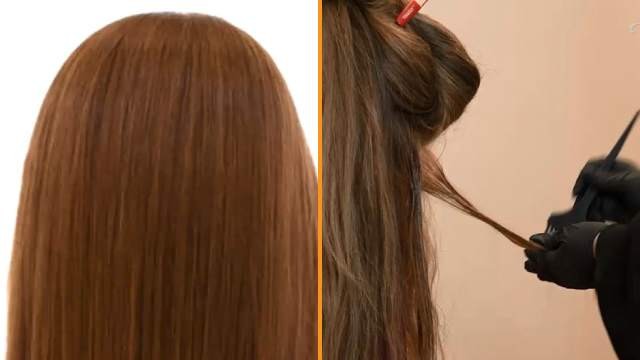
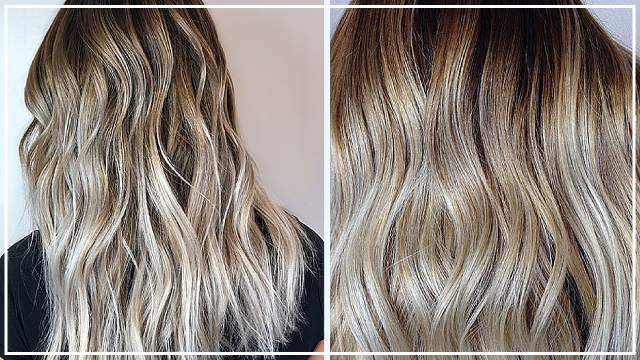
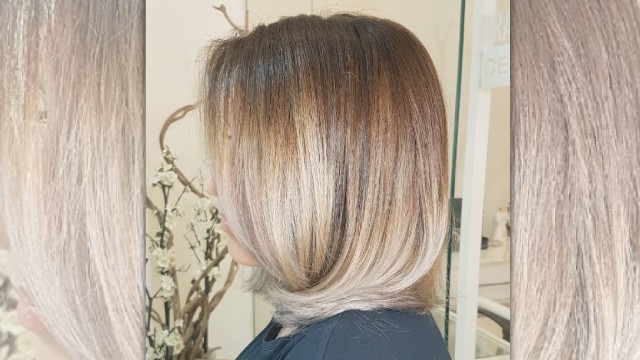
People who’d rather not have their roots lightened, can use this method to lighten the stem without affecting the roots. We have to wrap the model’s hair like this. The lower the hairbands are, the effect on the stem will increase. If the wrap is closer to the root, lightning will be closer to the root. Balayage technique, just as I’ve told you in previous tutorials, means Meche in open air. This technique must only be performed using a professional brand. Since we don’t use foil or hair cover, a poor quality product can cause leakage and cover unwanted parts of the hair.
We’ve received lots of questions asking what type of powder is suitable. A powder that doesn’t produce dust when you pour it into a cup or container from a thirty to thirty-five-centimeter distance is a good quality powder
Another indicator is foaming. If powder doesn’t foam or create too many bubbles during the mixing process, and turns into a unified mix after a few minutes, is a good quality product. There are other indicators which I will tell you if we had enough time.
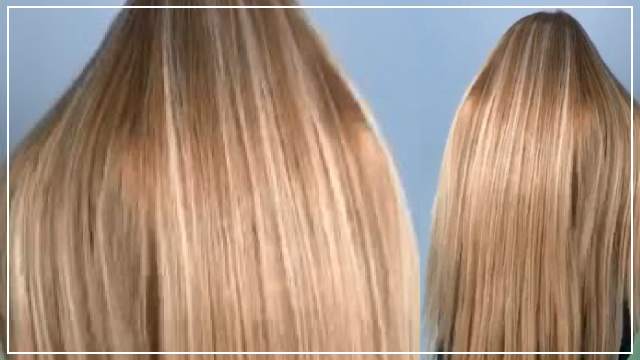
I’ve already performed the balayage process on this side of the hair. Even though the hair isn’t natural, you can see how only the parts I’ve applied the product to are affected and the other part have not been affected whatsoever. This is only the result of the quality material I’m using for this process.
You’ve also asked if tools can also affect the result. The answer is yes, definitely. Most brushes used in the process are bristle brushes, and after the process, if you squeezed the tip, you could see lots of material exiting the brush. Over time, the tip of the brush became thinner and caused irritation when it came in contact with the client’s skin. Silicon brushes don’t have these problems and will not absorb extra product either. They also come in different sizes. For example, if you want to work on a small part of the hair, you don’t have to use a wide brush, and you can just use a small brush like this. Another brush we frequently use is this one. When we are performing a Meche using foil, if you brush the hair using this tool from both sides once, you can be sure that the product has reached the depth of the hair, because the top of this brush has indentations designed for this purpose. Therefore, our tools have an effect on the outcome of the process.
I’m going to start adding the product. Keep in mind that balayage is a very delicate process and it’s important to be careful while applying the product to the hair because otherwise the product will touch the rest of the hair and affect the outcome.
I’m going to add the product to this side of the hair. As you can see my product is a complete mix and is dense enough that will not spill when I flip the cup. Let’s pick a little bit of the product and separate a bit of the hair an add the product. When the work is precise, we can be sure of the quality outcome. The powder I’m working with is a high-quality powder which does not form bubbles.
Use the indented brush to brush the hair. If the product is too dense a part of the hair, Ammonia gas will damage that part. It’s important not to add too much product to one area. Let’s put this part aside. As you saw we didn’t add anything extra like Vaseline to the hair.
Let’s put the middle part aside, and work on the next part by adding the product. Don’t go too high close to the hairband. Add the product to this part and use the indented brush to brush the hair. Balayage has many techniques and this is the process used to lighten the hair stems. Add the product one layer in between. Leave the next layer and go to the next one. If the product forms foam during the process, it will ruin the balayage. It should be dense like cream and this is the standard for all balayage products.
After adding the product, you have to give it time to affect the hair. For example, for a cream-colored hair, a bleaching level of seven or eight is enough. But for darker colors, you can get a good result in other levels too. Either way, after reaching the intended level, you have to wash the hair with the hairband on. After rinsing, use a towel to dry the hair and dye the parts you want. he dye should be performed with a weak oxidant like ten percent. Because if it touches the other parts of the hair, it won’t affect the color.
As you can see, I’ve only performed a decoloring for this part of the hair. To dye this hair, which is light brown, you can use beige, gray or any other color the client prefers.
I hope this tutorial has been useful to you. Until next time, goodbye.