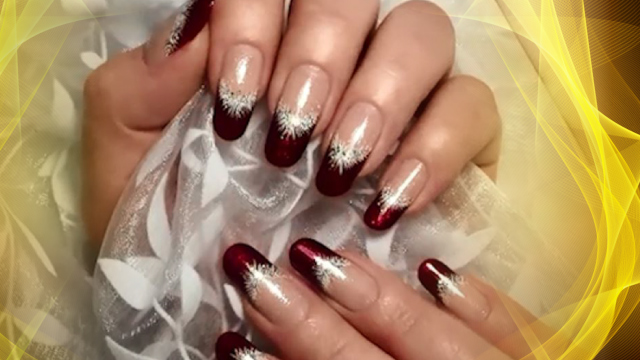
How To: Glow-in-the-Dark Nail Art
Having taken nail beauty treatment to new levels, there’s no wonder glow-in-the-dark manicures are quickly growing in popularity among most make-up loving women. Whether you're at a special event, or simply relaxing at home with your beloved ones, glow-in-the-dark nails are sure to be a hit with whomever you happen to be spending time.
Although this type of nail design might sound a bit complicated to do, in today’s tutorial we offer a useful trick to perform it as easily as possible. Therefore, waste no time to watch and enjoy using it.
The provided items are as follows:
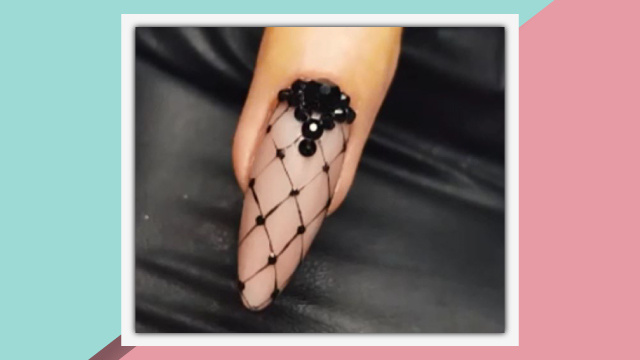
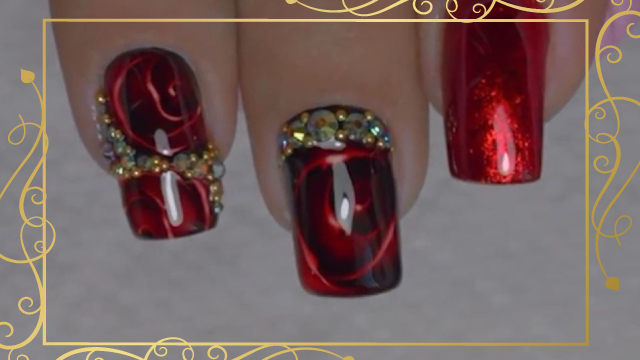
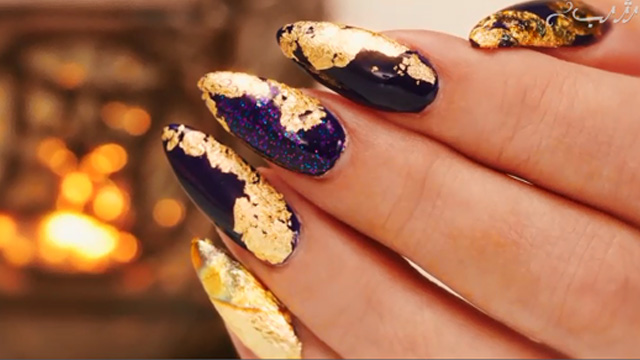
Black colour for a base
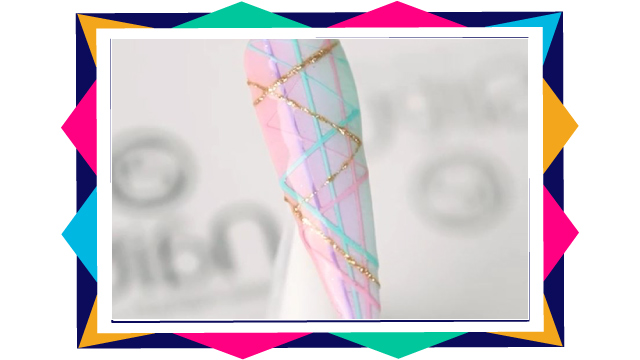
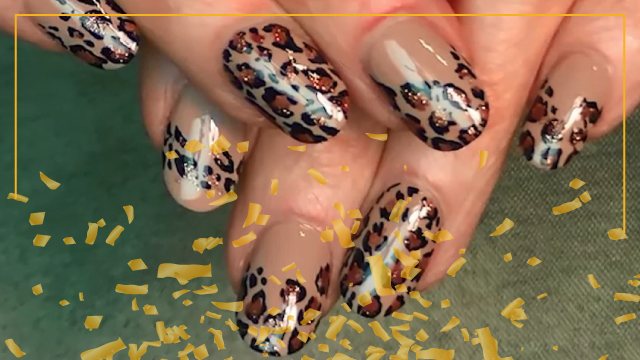
Colourful foil pieces for the design
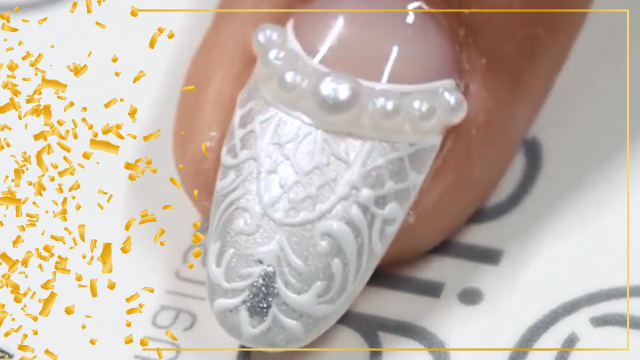
Specifically used brush
Applying the top coat
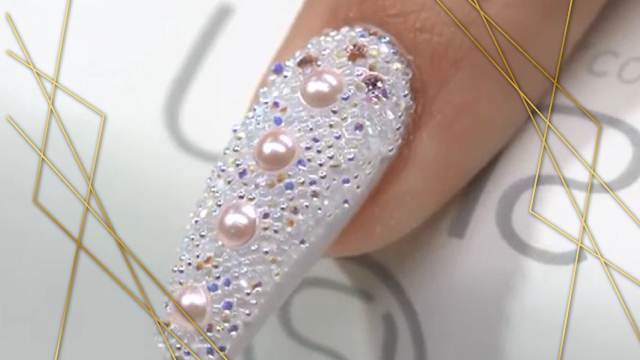
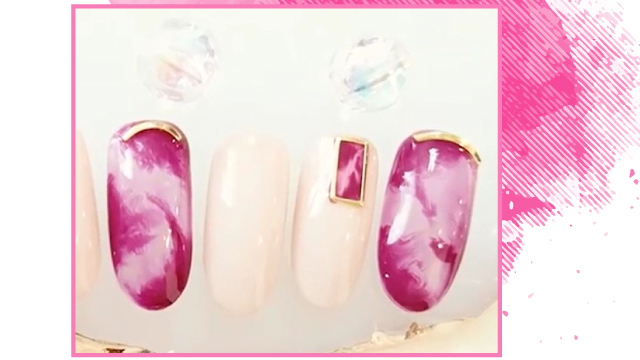
Rods placement on the surface
Instructions:
Hello and welcome, Today you will see a fabulous glow-in-the-dark nail art. To get started, a black base polish is applied to the nail's surface. Then, it's inserted in the UV device for 3 minutes. These two steps are repeated several times to ensure a fixed uniform design base. now the colourful foil pieces are used for the design. they are applied in dabbing motions. Then, the top coat layer comes next. This brush is used to draw the design lines on the nail. and finally the decorative rod is added to the design. Hope you enjoy using it for your needs.