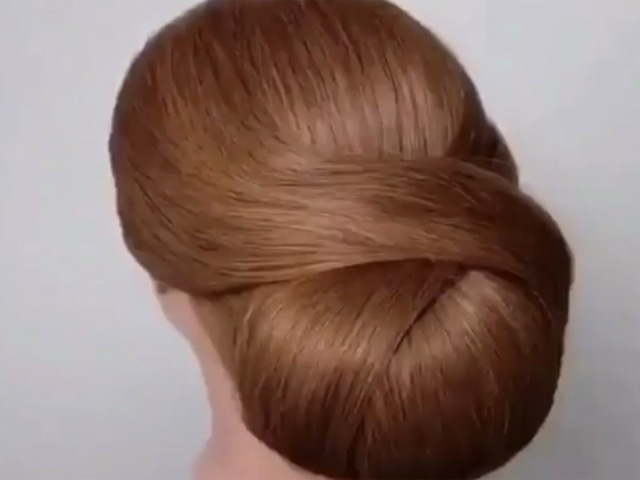
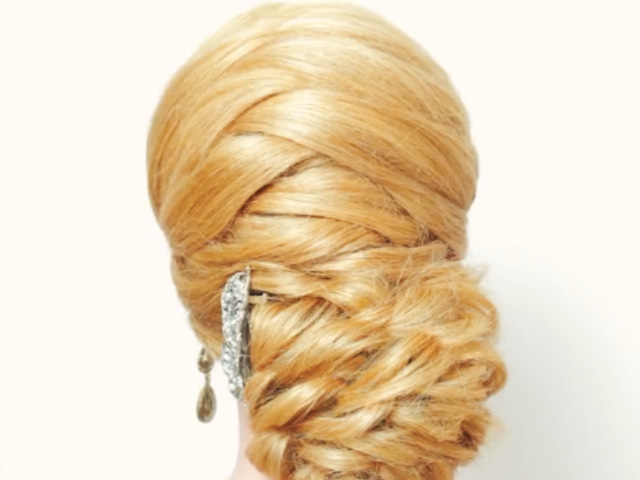
How To: Chignon Up-Do Style
In this tutorial, we will show you how to style a beautiful chignon. This video was provided by Salari Cosmetic Group. To join our classes, please contact us at .
Instructions:
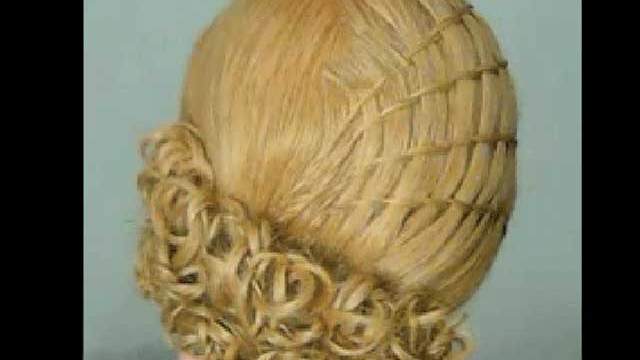
For this chignon, we will separate the hair first. I have separated the front into three sections. Add some volume hair dust to the root. I will tease the hair as much as I need. This part of the hair must have more volume. let’s add some more hair powder and widen the hair with my hand. Now let’s apply some styling spray to fix the powder. Brush the surface of the hair completely. You should not be scared to brush the hair during your chignon. I would rather have a base here so when I bring in the layer from the two sides, it will not get loose here.
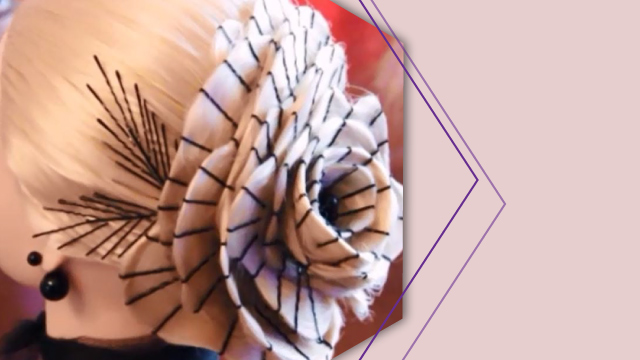
Now let’s move to the front. Again, add volume hair powder to the roots have more volume. Let’s add some styling spray to fix the hair as well. To reduce the hair frizz, we can use shine spray and it does not matter which brand it is. Push the hair layer forward like this. I can even create lines on this area or I can let it hang a little in the face. Now I have to fix the hair here so I can continue my work. I am going to create more lines on the hair and spray the hair with a styling spray to fix the lines. I will apply some cream on my hand so during the process of creating the lines I will not make the hair frizzier because of the styling spray that I applied to it before.
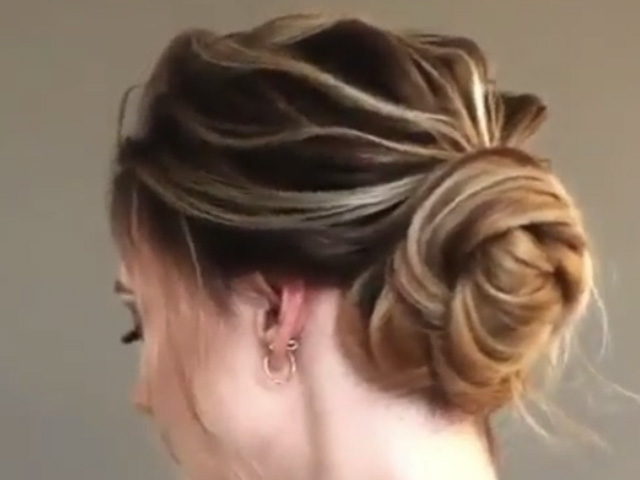
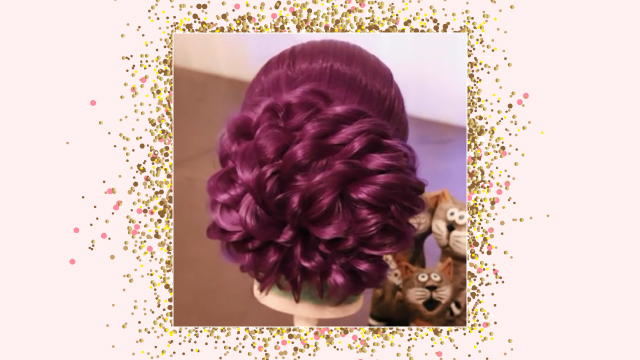
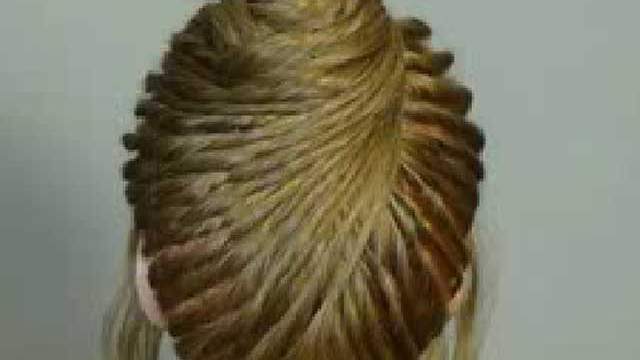
So let’s apply some cream to my hand and then create lines and apply the styling spray. You can do this three to five times. Now let’s move to the side of the hair. Hold the layers straight, tease it a little, and apply some volume powder. I will flip the edge of the layer based on my preference. You can create lines on the edges to combine them with other styles. Now let’s flip the edge. This is a combination of two different techniques. I will hold the layer to dry. I will use a hairpin to fix the lines and then move to the other styles.
I will repeat the process on the top for this layer as well until the end. Now that we are done working on the right side, let’s move to the left and proceed similarly.