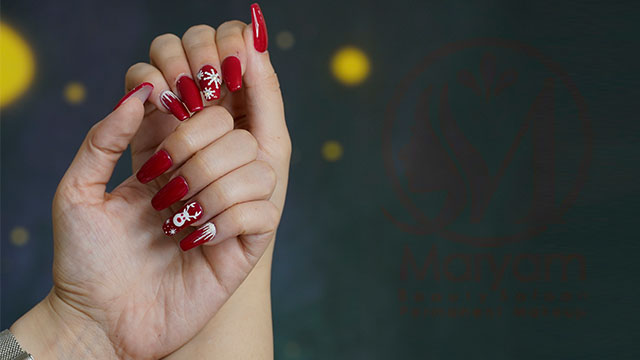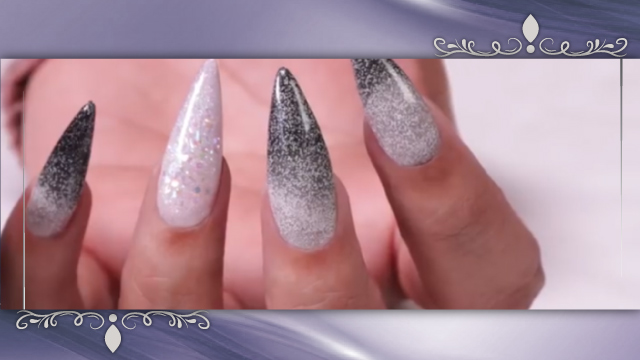
How To: Repair Nail Implant Tutorial
It would be quite frustrating to see your false nails chipped just before going to a party or any other important event. Not only does it detract from the beauty of your hands look, it might also cause damages to natural nails.
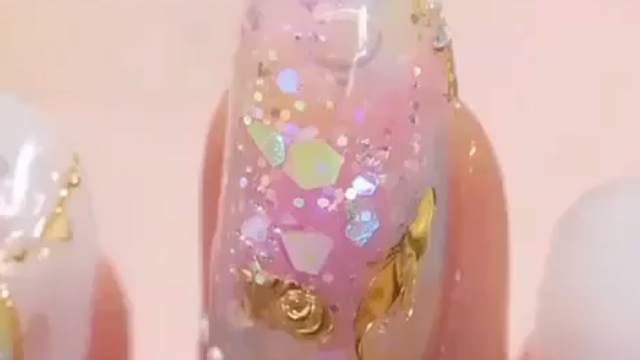
The chipped nails are repaired within the following steps:
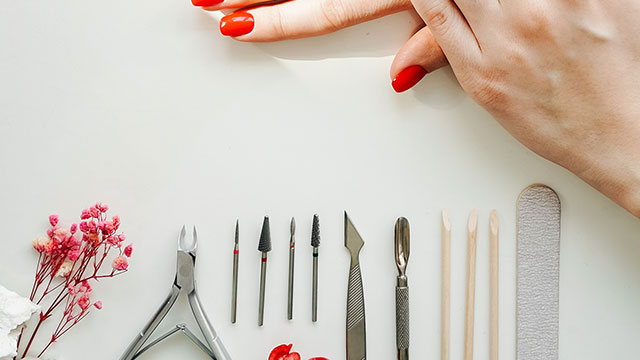
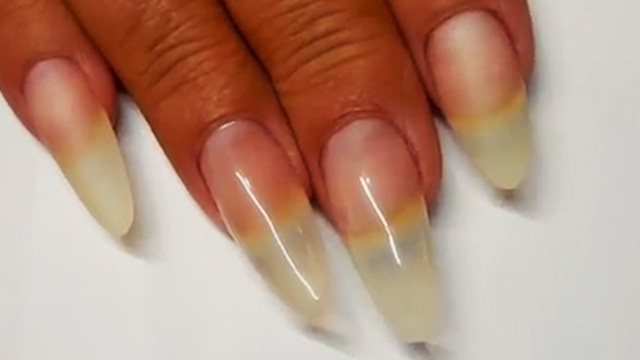
1- Scraping the nail plate using an electronic file
2- Eliminating the tip line with the electronic file
3- Applying the anti-fungus and the primer
4- Filing the corners and excess skin removal from the base
5- Using the buffer to further smooth the nail plate
Instructions:
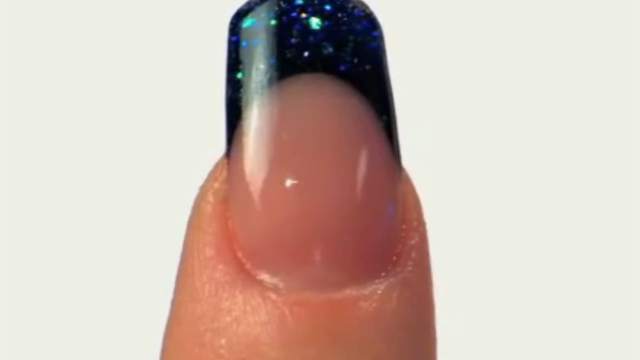
Hello everyone, I'm Setareh Hashemi, a nail technician from Kimia beauty salon under management of Ms Khodaverdi. Today, I'm here with you guys with the nail repair item. please stay tuned. well, the nail needs repairing when there's a big gap between the cuticle and the gel material. To get started, remove the gel material on the surface by an E-file with a diamond bit. in this step, we need to eliminate the repairing line. while removing the repair line, be careful not to let air trapped under the nail. otherwise it will probably grow fungus and also if it leaves repair marks on the nail, it will cause an unpleasant look to the nail plate. now, put a manicure bit to the E-file and start filing the corners.
Then, take the nipper and start gently removing the extra pieces of skin at the base. now, put the sand grit to the tool to further file the nail. Then, wipe the oil off the surface with a pad treated with cleanser. after that, apply the anti-fungus. Then the primer. be so much careful not to touch the primer to the skin at the corners and sides. Then, begin applying the material. dip the brush into the liquid. We can use the edge of the container to scrape off the excess liquid. start putting the material from near the nail base. again be careful not to let the material touch the cuticle. Then, check carefully if there's any area left untouched on the surface. after the material is dried on the surface, put the diamond bit to the file and use it to remove extra material off the surface.
Then, put the bit used for the corners. in the last step, use the manual file to scrape the sidewalls. Then, use it to smooth and buff the nail plate. turn around the nail to be able to look at it from the same angle as the client and make sure it's completely in good shape. well, this repairing session is over now and as you see the nail's arch is left intact and is neatly filed. the nail plate is now prepared to receive gellish treatment, but in case the client wouldn't like to have it gelled, you can use the buffer and polish the surface. Thanks a lot for watching us, To join our instruction courses in Kimia beauty salon, please dial the numbers provided. see you later.