How To: Stained Glass Nails Tutorial
To get started, first do the manicure on the nail and scratch the surface to remove the oil existing on it. Next apply the primer and the anti-fungus. Then put the former or the tip.
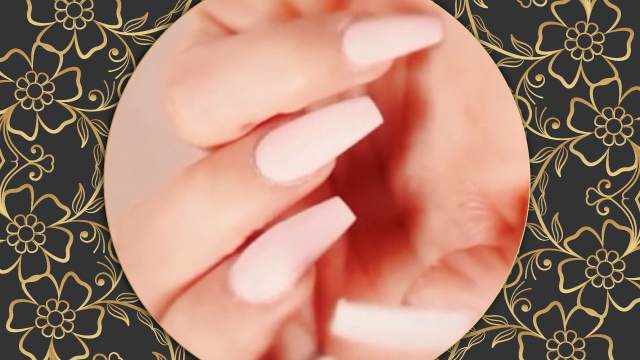
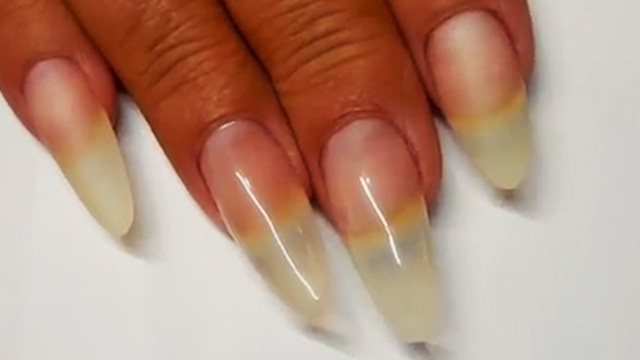
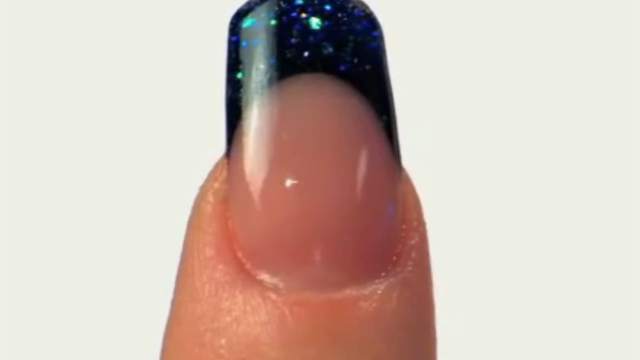
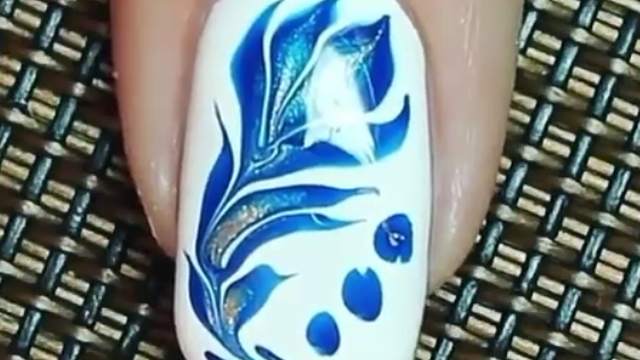
Do the shell making and start smoothing it with the manual and electric file. Then apply the peach powder to create the smile line. The next step is design the nails French. In the stained glass method meaning the colourful glass, we can use liquid powder.
Instructions:
Greetings to every one of you beauty lovers. I'm Somaye Imaani, a nail technician from Sooratgare Mah beauty saloon.
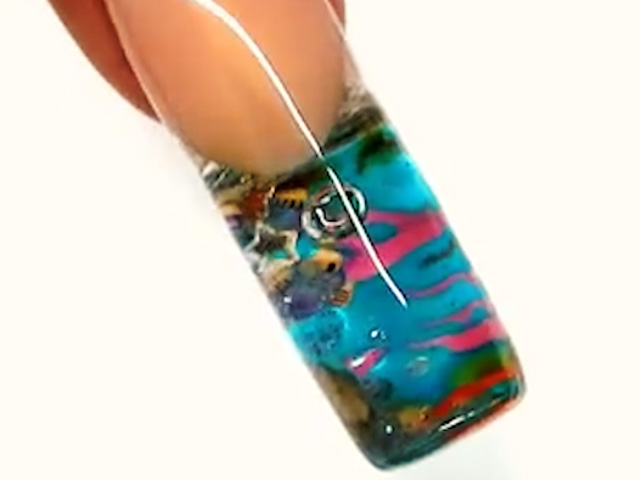
Today, we're gonna teach you the stained glass nails art design. so stay with us. To get started, first do the manicure. Then scratch the oil off the nails shell. which I've already done it here. I've applied the primer and anti-fungus too and put the nail former. you can also use tips instead of forms. but you must use a glass tip. after finishing all the steps. apply a layer of clear as a foundation from 1/3 the length of the free edge to the nail plate on the form ( this would be the length of a nail we wish to have). which I've already done this too. after that, apply the peach powder to start the shell making and smile line creation. you can start the shell making either from the free edge or the nail plate.
Which I'd like to start from the free edge. after the shell creation. smooth the shell using a manual and electric nail file. and try to carve out the smile line. the longer we make the smile line, the prettier French will we have. wait until the shell dries, then start filing. For filing the smile line parts, we must hold the electric file vertically. we'll do the same again with the manual file. the French design is a matter of personal taste, you can design it accordingly. in the end, cover the the design with the clear substance. in the stained glass method which means colourful glass, you can use colour liquids and the clear powder for the French. you can either use a prepared colourful liquid or make it with some colour pigments. and then make the colourful French. after you've done with covering the clear over the French surface, you can do the final filing. in the end, cleanse and polish the surface with a top shine.
Very well pals, I do hope you've enjoyed this tutorial. Thanks a lot for choosing us to watch. to attend our face-to-face classes, you may dial the numbers provided. Good luck.