How To: Toenail Cover & Implant
In this video, we will talk to you about covering and implanting nail tips. This video was provided by Kimia Beauty Salon. To join our classes, please contact us at .
Instructions:
Greeting to all of you watching Rojelab.net. I am Golnoosh Karkhani. I am a nail design expert from Kimia Beauty Salon with more than six years of experience. Today I am here to show you a design and cover done on toenails.
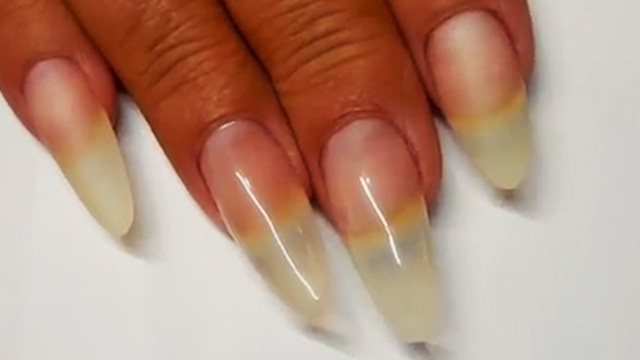
To cover the toes, the first thing you need to do is to form the nail. The client must have naturally long nails. Otherwise, it is impossible to perform a nail cover. We will form the nails in the way the client sees fit. To cover the nails, we have to remove the natural oil from the surface of the nail before applying the material. We do this with an electric scrub using a paper tip. Now we have removed the natural oil layer on top of the nails and scratched the surface. The next thing we need to do is to apply anti-fungus.
Cover the surface of the nail with anti-fungus liquid completely. The next step, before applying the material, is applying the primer. Apply the primer to the surface. After the primer, it is time to apply the main material. Pick some of the material with your brush and start applying it to the nail starting at the root. Use the material you applied to cover the whole of the surface once and then apply some more to the tip of the nail. We have applied the material to the whole nail. Now we have to wait for the material to dry off so we can start the scrubbing process.
The material is dry and now we can use our electric scrub to remove the excess material from around the nail. We removed the material from around the nail and now let’s move to the surface. Attach your paper scrub to the electric scrubbing device and use it to smooth out the surface. Smooth the surface and check it from the sides to make sure there is no bump or excess material on the surface of the nail. Now use your scrubbing stick to form the nail and design it. Scrub all around the nail using the scrubbing stick. We have finished scrubbing the nail and now we can buff the nail as a final step. The cover process is now over.
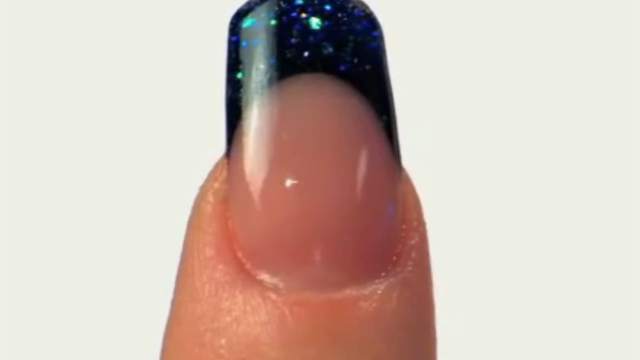
We covered the previous nail and for this one, we want to use a tip. For this process, we should cut the nail short or scrub it to remove the excess natural nail. Scrub off the edges. Use your electric scrub with a paper tip to remove the oil from the tip of the nail where we want to attach the prosthetic. Choose the tip size and check to make sure it fits. Put the tip in place and press it from the top down to make sure it is attached completely. You should press the nail and the tip from the top and bottom at the same time. Press the sides of the nail to make sure the edges are fixed as well.
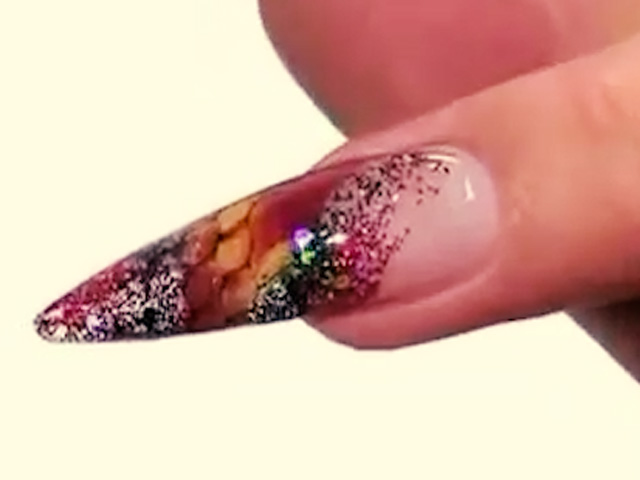
When the tip is fixed and glue is dry, use a cutter to cut the tip short to the length you have in mind. Since the previous nail was short, I will cut this one short as well to the same size. Use your scrub stick to form and style the nail a bit. We will remove the tip using an electric scrub with a paper tip. We will use our paper scrub to scratch the surface of the nail after removing the line of the tip. Apply anti-fungus across the surface of the nail before moving any further.
Wait a few moments for the liquid to dry. Now apply the primer. Apply the primer all over the nail. Now let’s start applying the material. Pick some of your liquid powder and start applying it starting at the root. When we have applied the material, we wait long enough for the material to dry. When the material is completely dry, we can start scrubbing the nail. Use a scrubbing stick to scrub the sides of the nail. Now use an electric scrub to clean the borders of the nail.
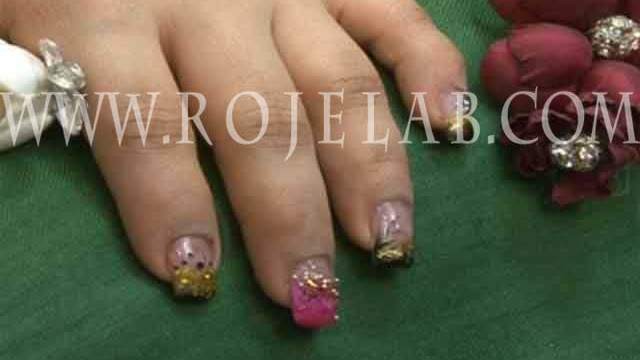
After finishing the scrubbing process, use a paper scrub attached to your electric brush to clean the surface of the nail. When the surface is clean, use your scrubbing stick to form the nail again. Use the scrubbing stick to clean around the nail again. We have finished the scrubbing process and now we can buff the nail. Now apply the cuticle oil around the tissue. Our video on covering and implanting is over. I hope you have enjoyed this tutorial. To join our classes, please contact us at Kimia Beauty Salon, using the numbers provided in this video. Thank you for watching us.