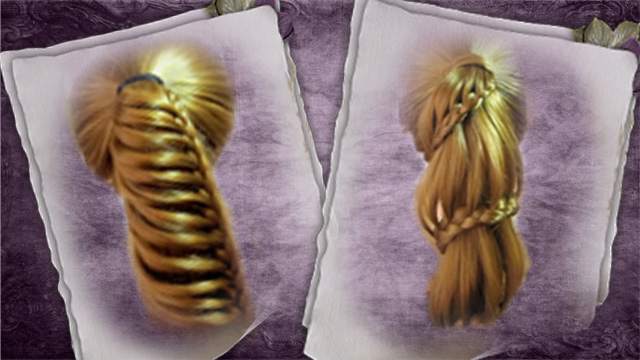
How To: Pinwheel Hair Dye
In this tutorial, we will teach you how to use the pinwheel technique to dye hair using Val var products. This tutorial was provided by Shayegan-Shokooh Company. To join our classes, please contact us at and to order Val var products please contact us at .
Instructions:
Greetings. I’m Anousha Shafi’e. Today I want to show you a fantasy hair dye called pinwheel using one of the best Val var products. This is a thorough fantasy dye and for this dye to work best we have to bleach the hair first. The best way to reach our goal is to use Val var’s decoloring cream, decoloring powder, and oxidant.
For a pinwheel technique, we need to bleach the whole hair and imagine the head as a sphere with the center being the top center of the head. We will then separate the hair in triangles with regard to the center of the head. The size of these triangles depends on our choice and clients. We could choose smaller triangles or bigger ones. We use the tip of our brush to separate the hair and create even lines to separate the triangles.
This is our first section. We’ll separate the second triangle on the side of the first one and hold it using a hair clip. We’ll try to separate the sections in equal sizes. We’ll do the same on the other side and separate the hair. We’ll do our best to mirror the other side. We’ll attach a hair clip here as well. After separating all the layers of hair around the head, we’ll start by opening the layers one by one and applying our dye in different fantasy colors.
I’ve separate a layer of hair from the bangs. What type of color you choose on the front depends on the client’s choice and you should ask them whether they like cool or warm colors for this area. We’ll choose our color based on the client’s request and start applying the dye. I’m using a silicone brush to apply the 5.20 color from Val var’s catalog which is one of my favorite colors from this catalog. Using the silicone brush with the W shaped head, I can be sure the material reaches deep into the hair layer and no area will be left untouched. I’ll continue like this until the end of the layer. I should note that for women with long hair, you could use the disk tool to cover the forehead and around the face so the hair doesn’t get in their face.
We applied our 5.20 color from Val var products across the hair layer. This color looks very great even on bleached hair with a little bit of yellow background color. Now I’ll use my small silicone brush to color the angles of the triangle neat and clean. The reason for using this small brush instead of the previous one is that the bigger brush might smear the color to the other layers and the dye will look dirty. This is why we use small silicone brushes. If you don’t have one of these, you could use an eyebrow brush to apply the dye here to get a cleaner result.
After you’re done applying the dye to this layer, wrap the hair up and hold it in place with a hair clip. Remember, to prevent the dye from becoming dull and losing it’s shine, avoid using plastic covers on the head. Just use one hair clip to hold each layer of hair in place. I’ll apply different fantasy colors from Val var product to the other layers as well. I separated the next layer and applied the gold dye from Val var. The procedure was the same and we just applied the dye to each section of hair after separation. I used my silicone brush to apply the product. Now wrap the hair and attach a clip.
You might be asking why I’m working from the front of the head because usually we only do that if we have white hair. First, in a fantasy dye, it doesn’t really matter whether you start in the front or in the back. Second, I decided to do start here to make sure you have a clear view of the process. In your own work, you can start the same process in the back, just separate the hair layer by layer, apply the dye and then wrap the hair in place with a hair clip. It’s always much better if we combine cool and warm color that complement each other side by side. For example, I used the 5.20 color for the first layer and for the second I’m going to use the 0.3 color which is gold. On the other side, I’m going to use a chocolate color. The colors you choose depends on your creativity and knowledge of the colors and the client.
I’ve applied the chocolate color to the other side. You don’t have to use the colors I’ve used and some women don’t like this many colors in their hair. You could use two or three cool or warm colors based on the client’s preference and yours to dye all the layers around the head. Here my point was mostly to show you the big spectrum of colors, which are available to you through Val var’s products. Some of my colleagues might prefer to use color shampoos, but these products have very limited durability and will fade after a few showers. In contrast, Val var’s colors, and especially the warm colors will not fade away easily.
When you bleach and rinse a hair, the hair will become dry and rough and will make brushing and straightening the hair difficult. As I’ve stated before, you can’t use conditioners after a bleach, but there’s a brilliant hair mask available from Val var which you can use after rinsing the bleaching material off the hair for twenty minutes. This product will not only moisturize the hair but will also prepare the hair for a dye. After our dye, we can use Val var’s conditioner with it’s a wonderful aroma to close the hair cuticles to prevent the dye from fading.
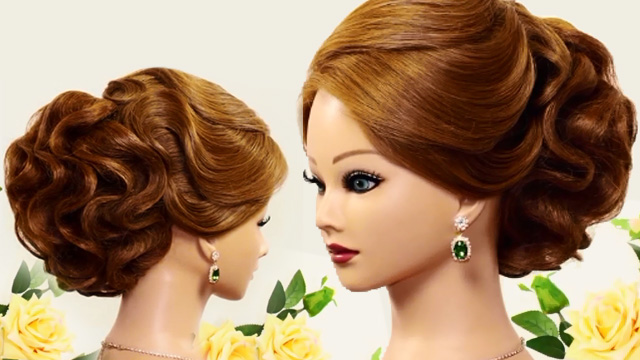
This is the result of our pinwheel dye. The front is purple using the 5.20 color code, which is also the color of the year. For the next layer, I used gold and for the other side, I used chocolate color. In the back, I used a 6.66 color code, which is a beautiful and warm color with a red color tone. Since there’s some synthetic fiber in the model’s hair, the colors don’t show their true potential but you can still see the quality and shine on the hair after the dye. I chose this technique to show you the quality and wide spectrum of Val var colors.
At the end of this tutorial, I want to take a moment to thank you for your trust and your orders and confident in Val var products and your high ratings. I also thank you for sharing the joy of using Val var products with me. Until next time, goodbye.