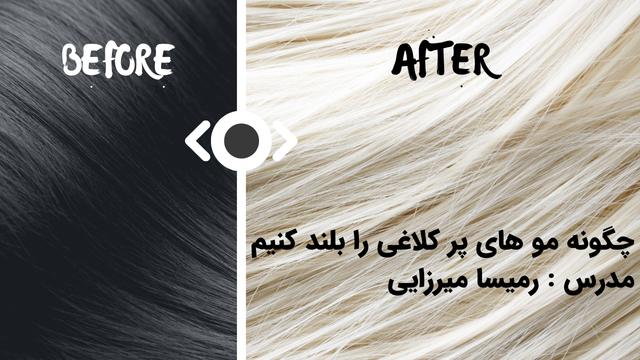
How To: Ombre Hair Dye
In this video, we will cover the step by step process for Ombre highlight techniques.
Instructions:
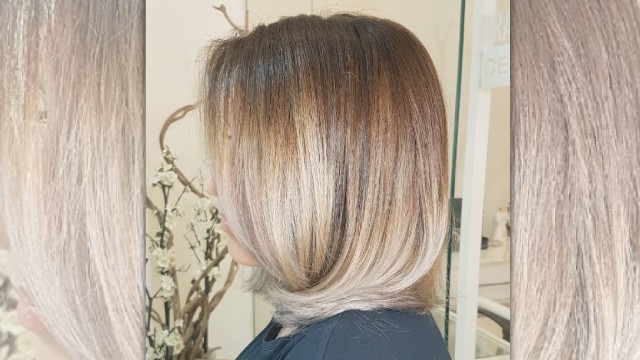
Greetings. Today I want to talk to you about hair highlights using Ombre technique. During this tutorial, we aim to avoid using decoloring powders and instead we will use a few different colors throughout the video to achieve our goal. We will start with dark colors, then use lighter colors, and again end with darker colors on the top.
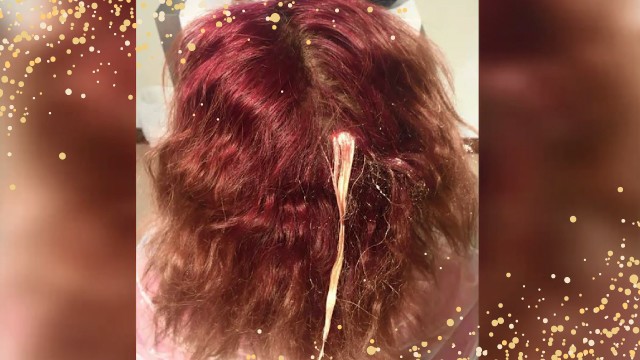
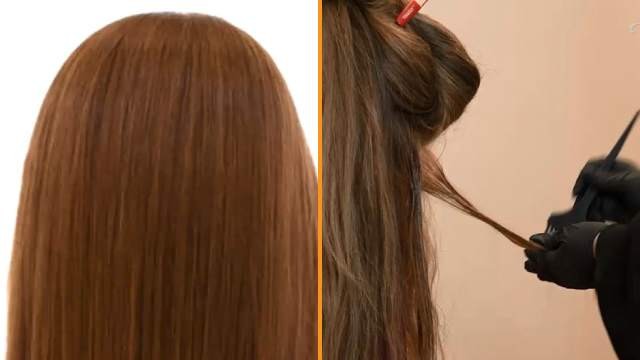
Let’s start by explaining the hair selections and separations. In the front, we have separated the hair into three parts, one in the middle and two on each side. We’ve done the same in the back and separated the hair into three parts as you can see from the hair clips. The first area we want to work on is the hair in the back, which is hanging free. We’ll use a number four color from our color catalogue, which is copper color. As I said, we will start with copper or color number 4 in the back. Therefore, we have to apply this color to all the free hair in the back. We have now applied the product to all this part. Next, we can move on to the layers we separated before. Remove the hair clip on the first layer.
Tease the hair. Now for this part you can use the number 5 natural color, or beige, chocolate, or any other color from that number you like. This depends on your preference. When you reach the part where the teasing ends, we want to change our color to a lighter shade. We used copper for the lower part or number 4, for the root, we used color number 5, and for the middle, we want to use a number 9 or gold color with 6 percent oxidant. Tease the next layer. Apply color number 5 to the root. Nevertheless, this time, apply gray color number 12 with 12 percent oxidant and continue until the end of the layer.
Now let’s move to the front of the head. As you can see, we have separated the hair into almost a semicircle starting from the middle of the forehead to the side and let the rest of the hair hang freely. Choose the first layer and teas the hair. Apply color number 5 for the root and just like in the back, we’re going to apply color number 9 for the first layer and color number 12 for the second layer. We’ll continue like before and apply 6 percent oxidant and color number 9 to the hair layer. Again, apply color number 5 to the root, but instead use number 12 color with 12 percent oxidant.
Apply color number 5 to the root where the hair is teased. Again, We’ll continue like before and apply 6 percent oxidant and color number 9 to the hair layer. These colors depend on your preference and you can change them based on the client’s request or what suits them better. You could use wine color, mahogany, copper, or mix a few colors. Now we can use number 12 color with 12 percent oxidant. We will do the same on the other side of the head and we’ll be left with the middle of the head or the bangs. As we said before, we separated the bangs into three parts and the middle part is almost an inch wide which we kept aside using a hair clip. We will now apply our product to this area.
We should use a single color for this area and here I want to use the color number 5 which we previously used to color the roots on other layers. However, you can change the color spectrum for this part based on your preference but I will use the same color I used for the root for other layers. Let’s separate the layer part by part from the front. We have applied the product to this layer of hair. You will have to give the product enough time to take effect on the hair based on the brand and chemical potency you use and then we will rinse the hair and show you the result.
I hope you have enjoyed this tutorial. We hope to see you all over at Noghre Negar beauty institute.