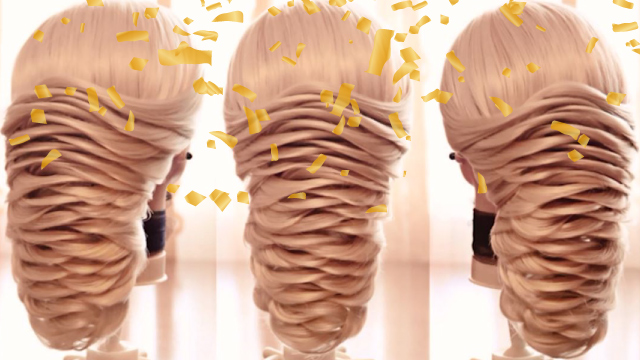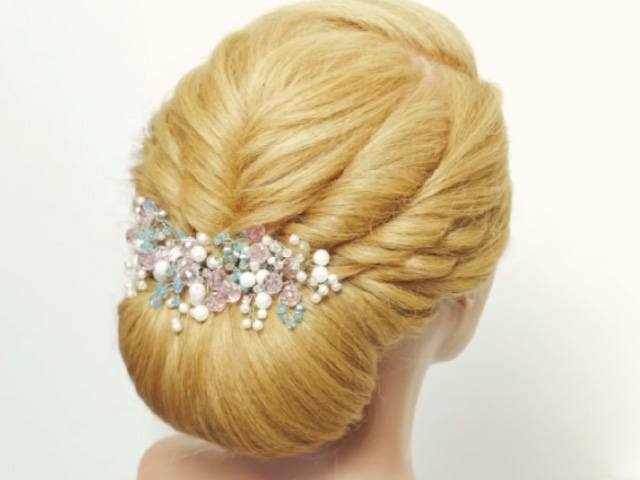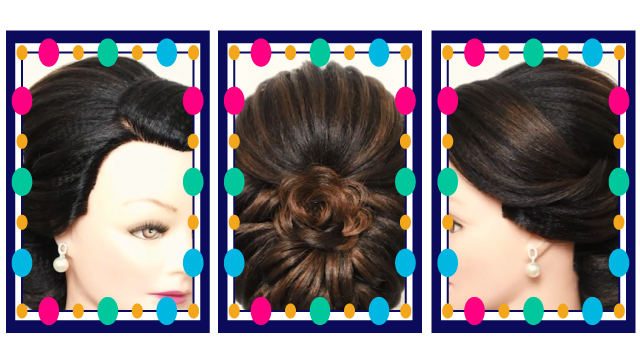
How To: Linear Chignon Up-Do
In this video, you will watch how to style a beautiful technical chignon. This video was provided by Banoo Kermani Beauty Institute.
Instructions:
Greetings. I’m Banoo Kermani. I’m the administrator and instructor at Banoo Kermani Beauty Institute. I have more than twenty years of experience in the field of cosmetics and hairstyling. I hope you enjoy this tutorial.
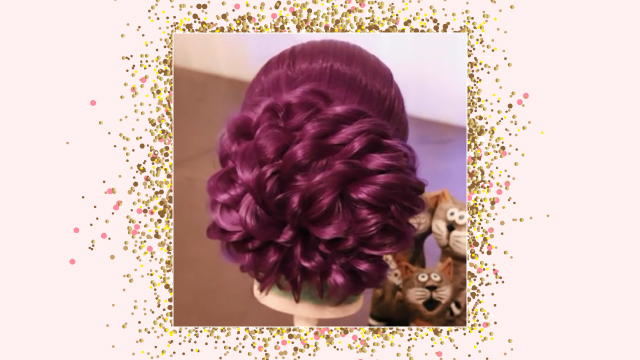
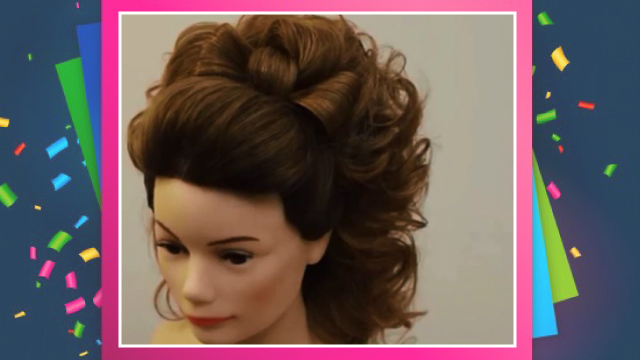
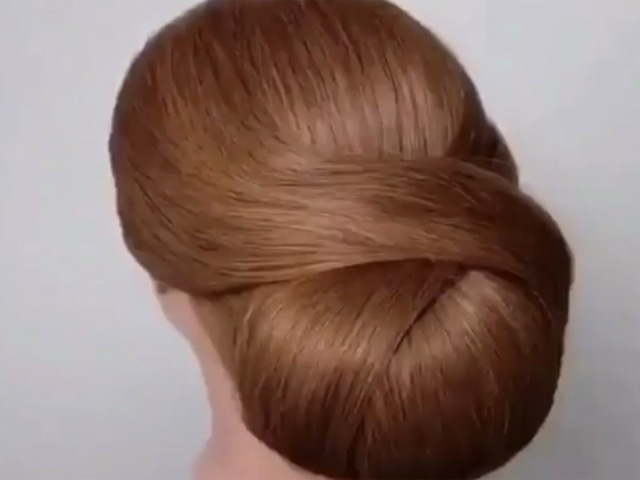
First, separate the hair into five sections. Use a silicon prosthetic to add volume to the top of the head. Take the ponytail and take it through the silicone prosthetic. Widen the ponytail a little bit. The first part we want to work on is the bangs. As you can see, I’ve separated the bangs from the two arch of the eyebrows on both sides. Now we want to add lines to this layer of hair. First, brush the hair thoroughly and align them together and when they are smooth and aligned,
We can start designing the lines on the hair.
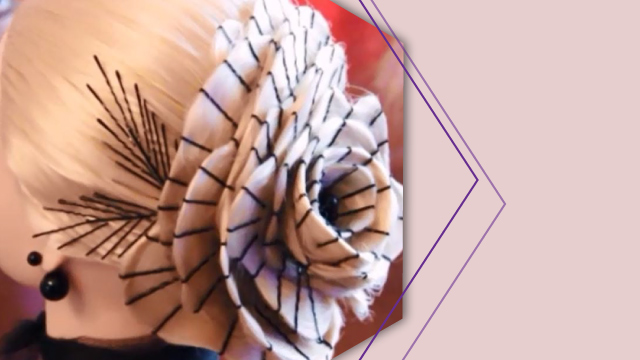
Use the index and thumb on both hands to separate small sections of hair and create lines and continue until the end of the layer. You can use a small amount of hair cream to help separate the lines on the hair and use both hands to create the lines. You should only use a very small amount of hair cream to avoid making the hair too heavy while still help create the lines. Try to create the lines in an even and orderly fashion with the same size. After creating the lines, you can use long hairpins to fix them. This will help separate them so they take the shape of individual lines.
Use your hand to hold the hair right where it reaches the prosthetic and use hairpins to fix it to the prosthetic. Push this same part forward to make the hair layer in the front bulge up a bit. Now separate the bangs into two parts hold one part in your hand, as we did in the previous tutorial. Brush the hair and smooth it out. When the hair is brushed and smooth, start creating lines on the part as well. Create the lines toward the direction where you want to form the hair. I put a few hairpins in the front to fix the lines, but now I’ve removed them to give you a full view of the procedure and the hair is now fixed.
Wave the hair a bit at this side like this. Continue creating the lines and forming them until reaching the end of the next wave. Take the other layer of hair remaining from the rest of the bangs, wave it, and put it beside the previous layer on the prosthetic. Now use long hairpins to help separate the lines. We will continue like this and wave all the remaining layers of hair and put them on our silicon prosthetic including the ponytail hair sticking out of the silicon itself.
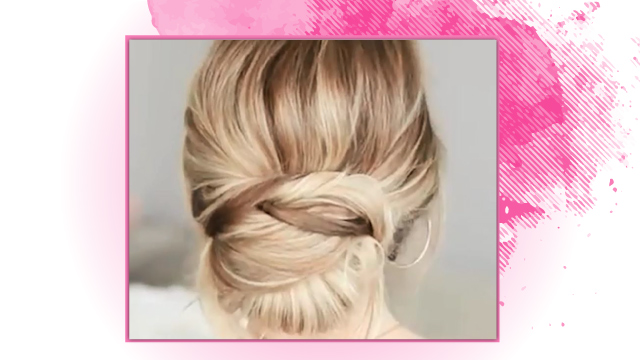
Brush the hair sticking out of the silicon prosthetic and put it where you want to form it on the prosthetic. Create lines on the ponytail and wave it on the prosthetic. Take the ponytail layer by layer, brush them, wave them and put the layers all around the prosthetic. Separate the hair on the side of the ear vertically. Now wave the section, which is closer to the face. Let’s leave this layer as it is for now and work on the rest of the layers. Later we can continue our work and form the layer.
Separate the next layers and brush them. Apply a bit of hair cream and find the place you want to attach the hair and then fix it. Now let’s move to the last layer. Hold the whole layer in your hand and wave it evenly and equally. Take the rest of the hair remaining from the side of the ear, put it on the prosthetic, and form it. Twist the hair layer slightly and fix it. To separate the lines further, we will use long hairpins again. Now spray the hair with a fixing spray. There’s a layer of hair remaining from the section we separated on the side of the ear and in front. We’ll take this part, wrap it around the base of the prosthetic like this, and fix it. You should also create lines on this layer as well.
Now in the back, separate the hair vertically and choose a section diagonally on the side, hold it up and create a few lines, then fix it. Separate another layer diagonally, brush it upward, and twist it loosely, then attach it to the hair using a hairpin. The next part we want to work on is the rest of this same layer. We want to twist it and turn it in a way that compliments the same lines and twists on the other layers beside this one. Therefore, twist this layer, bend it, form it like the layer next to it, and attach it on the side of the previous layers. Separate the next part, which is behind the ear, vertically, brush it and apply some hair cream. Now hold the hair close to the root and wave it like this.
We’ll continue like this to the next piece. Separate the next part, which is right behind the previous layer, vertically, brush it, wave it and create lines. Use a hairpin to fix the hair in place. Take the last layer of hair and brush it, then find a suitable place for it and attach it to the hair. Take the remainder of the last layer and bend it, then attach it on the lower layers of hair exactly on the hairpins. Use long hairpins and then use fixing spray. Then you can use small hairpins to attach these lines and twists of hair to the lower layers of hair on the head. I’ll so you a sample here. As you can see, I used a hairpin to connect the hair layer to the lower prosthetic in a way that you can’t see the pin.
I hope you have enjoyed this tutorial. I hope to meet you all over at Banoo Kermani Beauty Institute.