How To: Contour For Round Faces
In this tutorial, you will learn more about the contour concepts in makeup for round faces. This tutorial was provided by Mrs. Jafariani.
Instructions:
Greetings. I’m Jafariani. I’m the administration at Simaye Mandegar cosmetic institute. I’ve studied and worked in the fields of cosmetic and beauty for more than 28 years. Today I want to talk to you about contour during makeup.
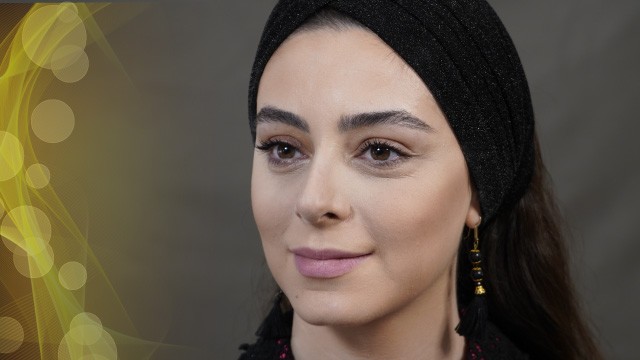
Before beginning the contour process, it’s better if we get to know the types of faces first. We have oily skin, dry skins, and mixed skin types by nature. There are also different levels of sensitivity when it comes to skin types. Therefore, it’s important to know the nature of the face before starting the contour.
Our client has oily skin and therefore we are going to use a multi-remover product prior to the main process. Apply the multi remover like this and apply it across the face. Let the product remain on the skin for ten minutes to take effect. After the allotted time has passed, we’re going to use a cleansing lotion. There’s no need to let the cleansing lotion remain on the face.
There are seven factors in makeup that can make your client look older. One is not using the correct base cream. Therefore, after applying our cleansing lotion, we’re going to apply our base cream since we don’t need to wait after applying the cleansing lotion. Apply the base cream and wait ten minutes and then we can start the contour process.
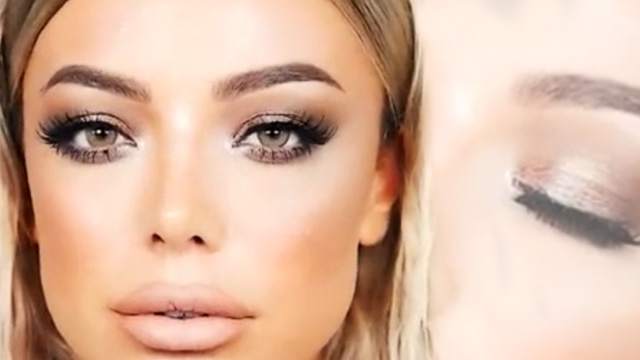
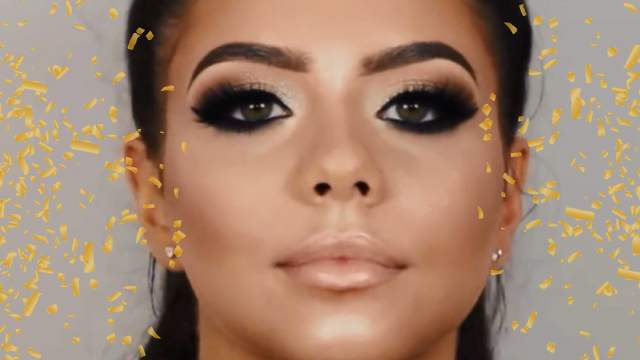
I’ll use a suitable contour for my client’s face. For the highlights, I’ll use a cream and peach color. For a contour, you first have to apply the highlights. After applying the highlights, we can move on to applying the darker shades. I’ll use a suitable color for her face. To draw the highlight and contour on the face, first,
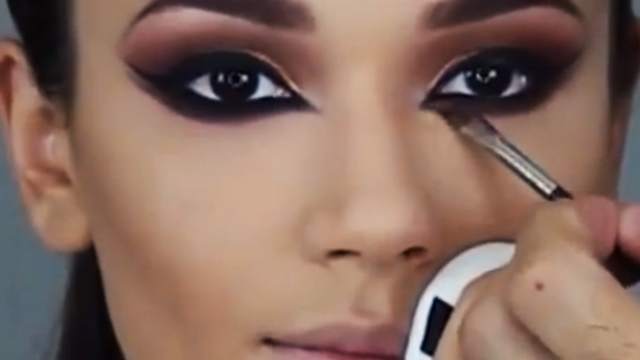
We will look to find the cheekbones and then apply the shades to this area. To make sure the highlights are drawn to equal places on both sides, I’ll draw an imaginary line from under the nose. This imaginary line can show you that both dark shades and highlights on the cheeks are in the same position.
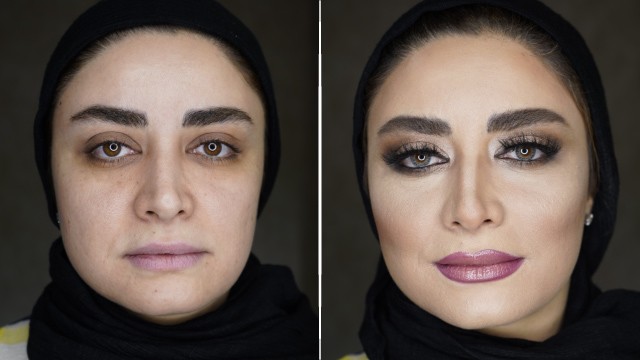
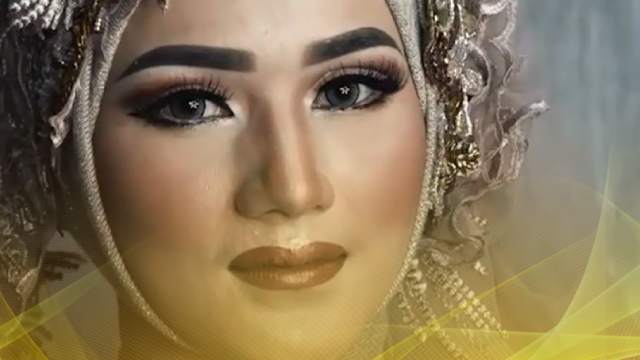
Next, we can use a dark contour on the areas on the forehead in the form of small hachures. This is how we do it for this face but each face requires its own type of contour. I’ll use a highlight right under the nose since the space between the nose and the lips are short. Therefore, we’re not going to use a dark contour here. I’ll also apply a highlight above the lips. I’ll extend the highlight on the lips. Apply a dark contour below the lower lip to make the lips look plumper. I’ll also apply a highlight extended from the side of the lips to the cheeks. I’ll draw an imaginary line below the cheeks.
Nowadays, stronger jaws are more fashionable. Hence, I’ll draw two dark shades on the jawline and will extend them to reach the shade on the chin. With this method, we try to form the face into a triangle and now we can start fading the shades. The contour is now finished and after this process, you can begin the makeup.
In this tutorial, we tried to cover the basic concepts of contour. I hope we can see you in our classes. Please contact us using the numbers provided in the description.