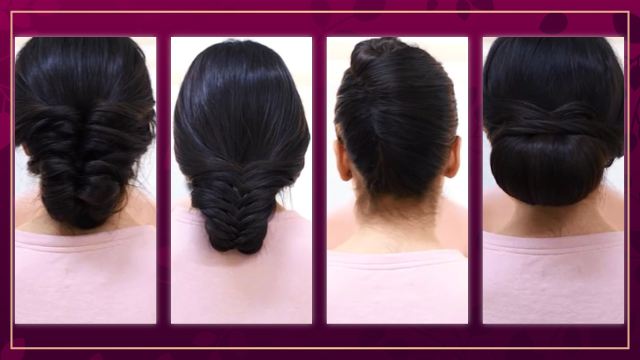
Beautiful Flower Chignon
In this short video we’re going to show you how a Flower Chignon is done. This video is provided by Ostoure Beauty Institute. If you’re interested in joining our classes, please contact us with .
Instructions:
Greetings.
We’re here today with another tutorial from Ostoure Beauty Institute.
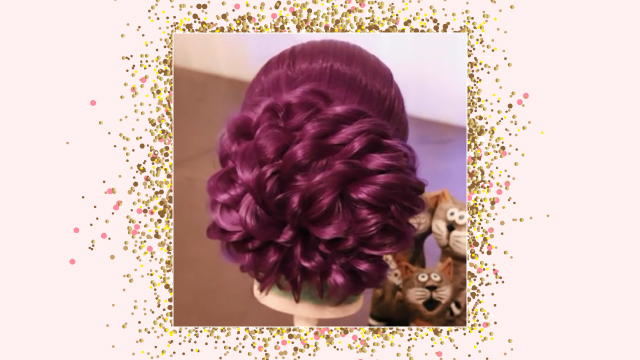
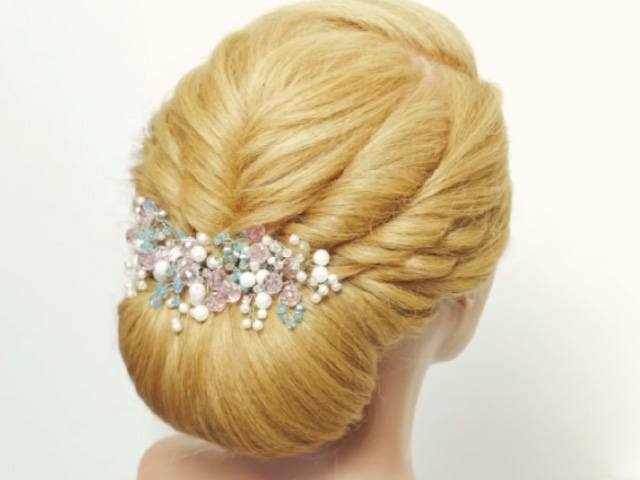
Today we’re going to show you a flower chignon. To start the chignon, separate the hair into three equal parts. Tease the middle batch so we can use it as a platform for the rest of the chignon.
Now let’s start by picking small batches of hair from left and right. Use your hand to flatten the batch to add some style and then use hairpins to hold them to the base.
As you can see, we’re going to continue doing this until we reach the top of the head. When we reach this point, we need to choose the top batch and close it using a hairband and pins. Next, we’re going to make a few lines on the hair to style it.
With the hair hanging nicely after adding the hairband, we can wrap a batch of hair to make a pistil. Leaving the rest of the hair to be used for the petals. We’re left with the front. It’s important to pay attention to the style of the client’s face when deciding what to do at this point.
If you’d like to join our classes over at Ostoure Beauty Institute, please contact us with the numbers provided in the description.
Goodbye.