How To: Simple Braided Chignon
In this tutorial, you will learn how to design a simple braided chignon.
Instructions:
Greetings. I’m Ebrahimpour. I’m a hairstyle and formula expert and instructor. Today I want to show you a simple braided chignon. I’ll show you in action and I hope you liked it.
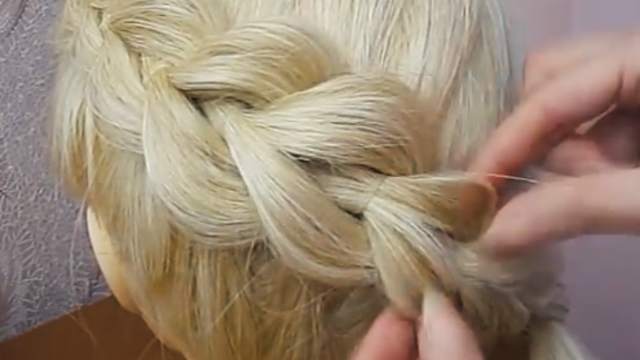
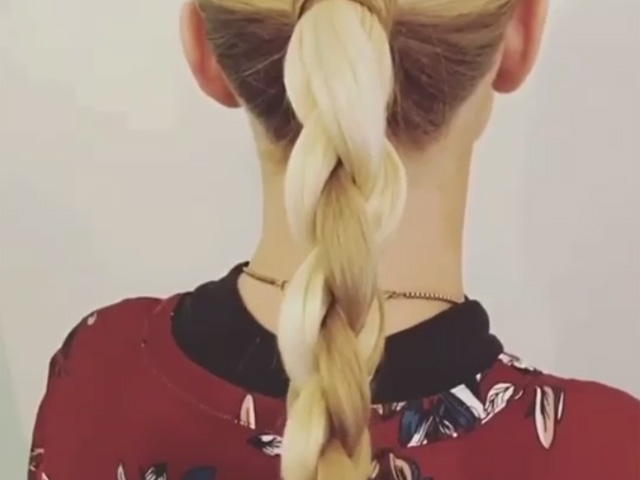
Separate a layer of hair and separate it into three parts. Start braiding on the top. Drop the layer on the right, add another layer of hair to it, and put it in the middle. I’ll do the same for the left layer. Braid the hair loosely. Add another layer on the right. Now the same on the left. I’ll continue the same way until the end.
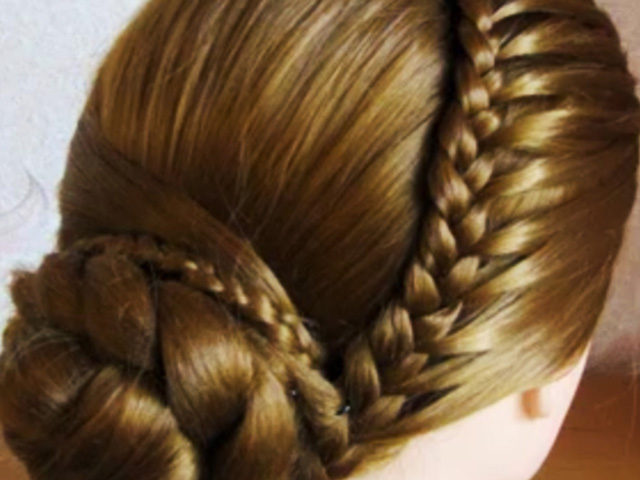
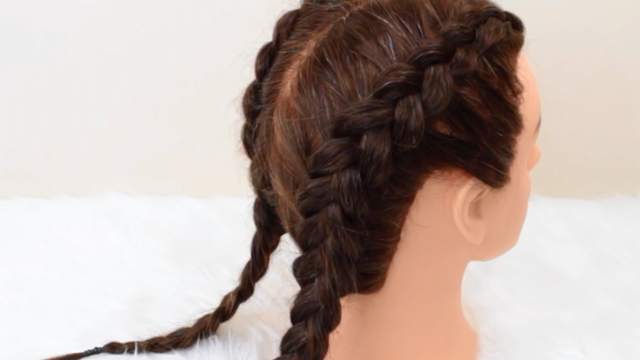
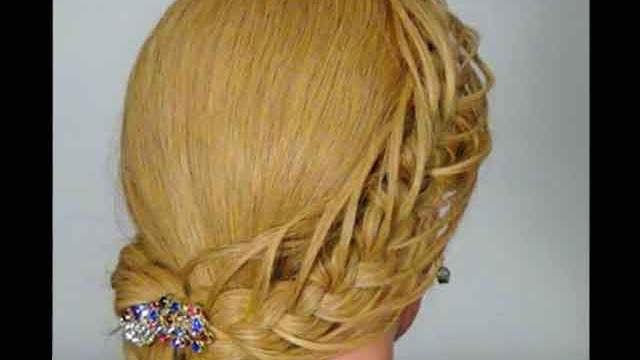
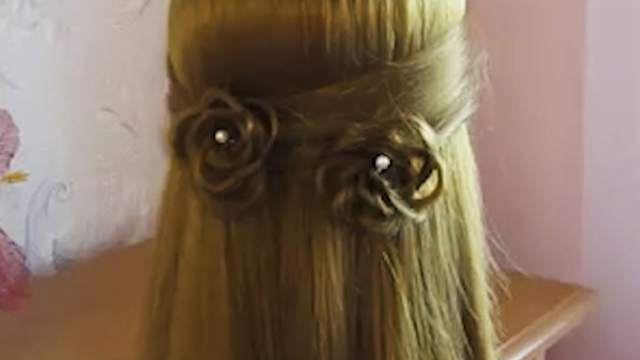
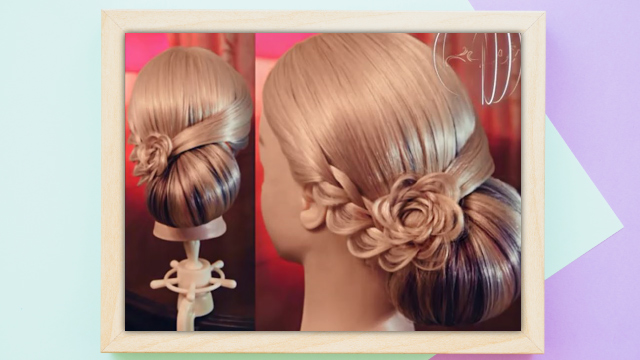
Pick another layer of hair from the right side. Separate it into three parts and start braiding on the top. Add a new layer to the right section. I’ll do the same for the left side. I’ll continue the same way until the end of the layer. I’ll braid this part of the hair that I had tied in a ponytail before. We want to wrap this part in the form of a simple braid under the hair. Place a small prosthetic under the hair layers. Now use hairpins to attach your braids to the prosthetic. You can form the braid on the side into a flower and attach it to the prosthetic. I’ll do the same for the braid on the left side. I’ll fix the rest of the hair under with a hairpin. We can use small flowers between the braids to decorate our design.
This concludes our tutorial for today. You can see how I’ve used flowers to decorate the hair. I hope you have enjoyed this video. Until next time, goodbye.