How To: Braided Chignon
In this tutorial, we will show you how to do a braided chignon. This video was provided by Banoo Shafi’e Beauty Institute.
Instructions:
Greetings to all of you watching Rojelab.net. I am Arezoo Shafi’e. I am the administration at Banoo Shafi’e Beauty Institute. Because of your requests, today I want to show you how to do a braided chignon. I hope you will enjoy this tutorial.
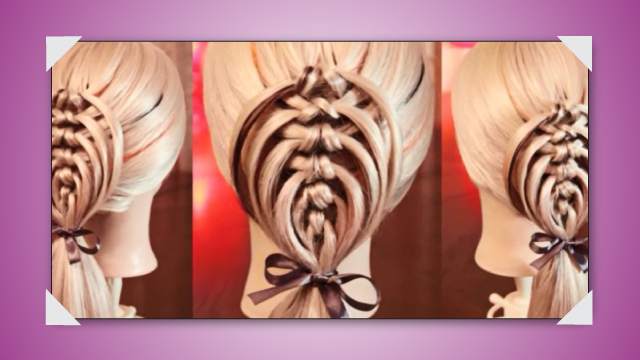
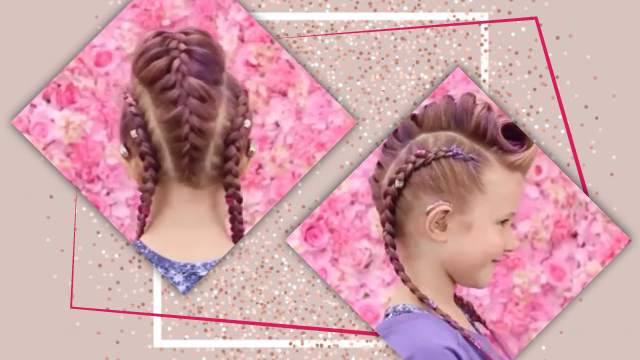
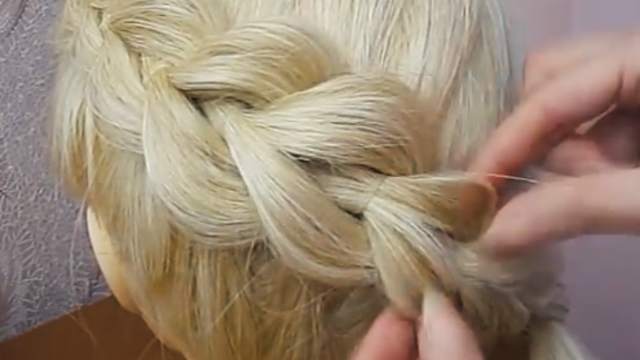
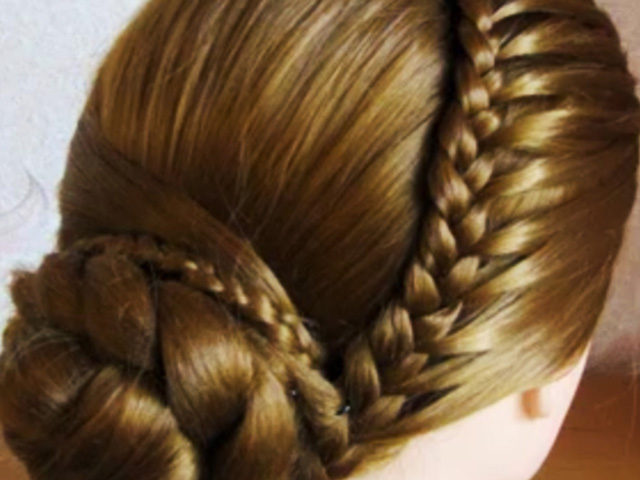
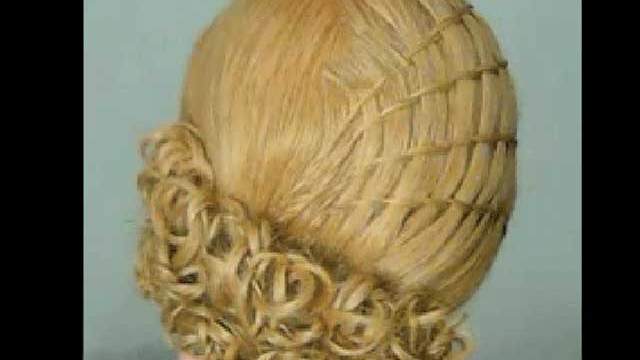
Separate the crown of the hair from the rest of the hair for a basic starting point. Bulge the crown a little based on your preference and the shape and style of the head. Use hairpins to fix the hair. Separate a part of the hair in the back and braid the end of the layer loosely. Fix this braided layer where we want to style the hair. Twist the hair a little.
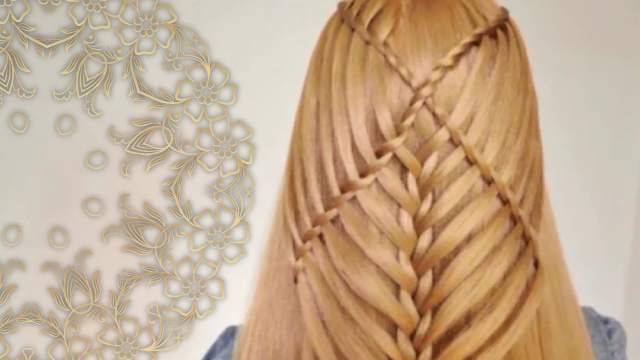
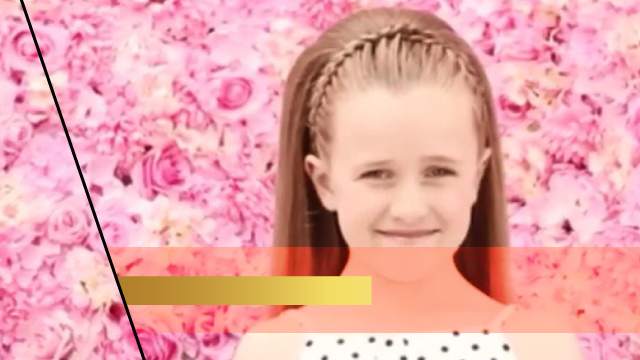
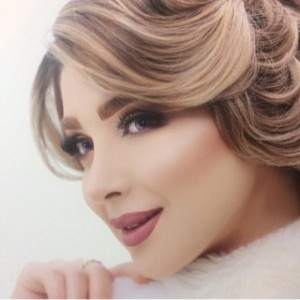
If you want to make the chignon look different, you can separate a few layers from the braids and let them hang loose and you can even form the later. Some people do not like collected chignons and rather have a little of their hair hang freely. Separate a layer from the bangs. Since the layers are a little, short we start separating the hair from the separation line in the middle and we can skip a few layers of the hair if we want. Braid the hair loosely so the hair does not stick to the scalp.
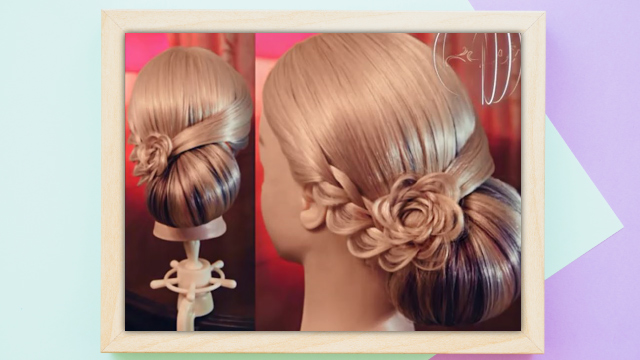
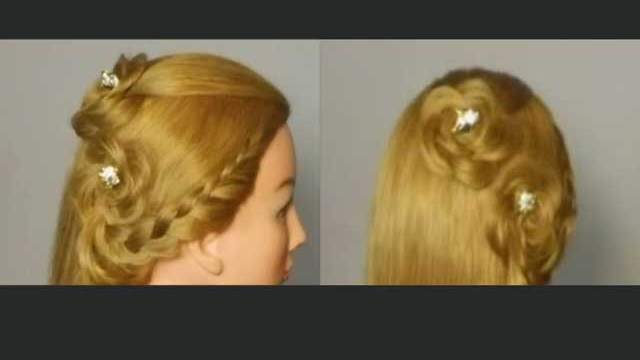
You should ask the client to work with you by holding their head to the correct direction so the braid does not get too loose or too hard. Take the braided hair towards the back. If you are interested in learning hairstyling and you have already passed beginner classes, you can join our classes at Banoo Shafi’e Beauty Institute and learn many different chignon styles here. We add these hairpins to create lines on the hair and make it look more beautiful because we want to have more lines close to the roots.
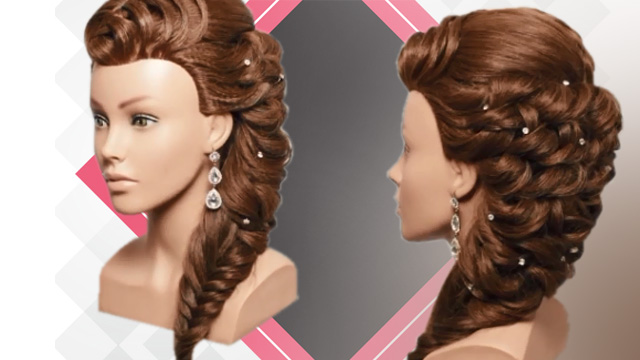
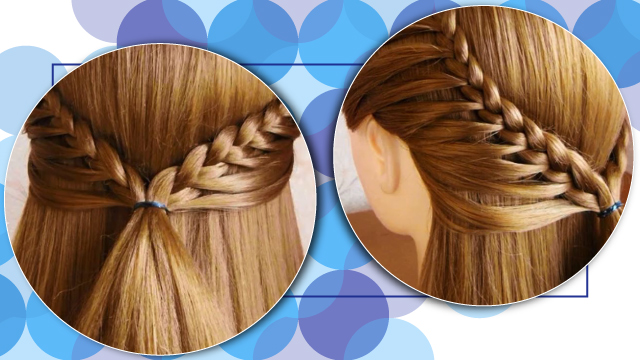
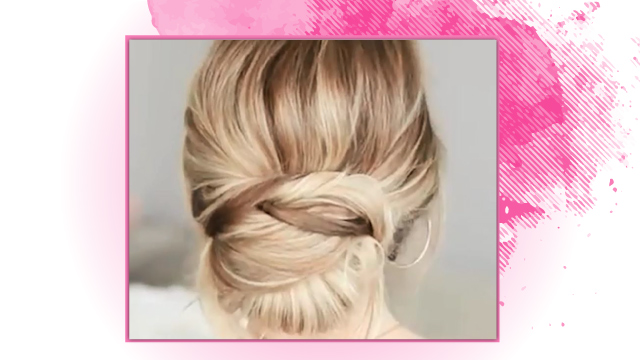
Let’s start working on the other side of the hair. As you can see, the bangs are very short. Hold the short layers in your hand and start braiding. Braid the hair loosely and take the hair to the back of the head towards the base of the chignon. Use hairpins to fix the hair in the back close to the base of the chignon. In the end, you can curl the free layers.
This concludes our tutorial for today. You can contact us at the numbers provided in the description to join our classes, which are available as conferences, private classes, or semi-private classes. I hope to see you all in our classes at Banoo Shafi’e Beauty Institute. Thank you for watching.