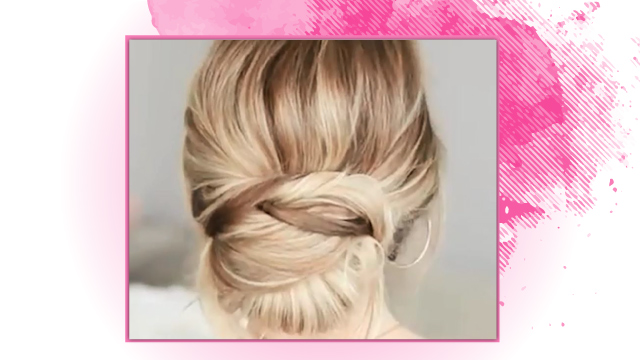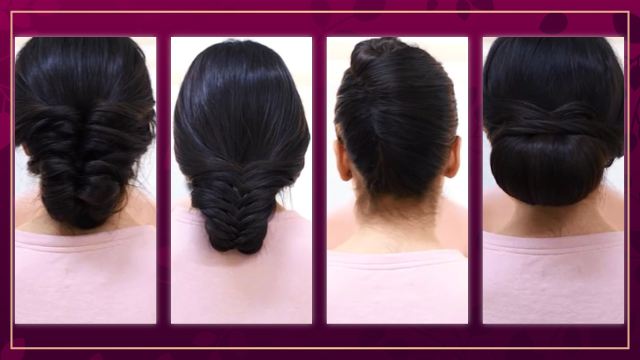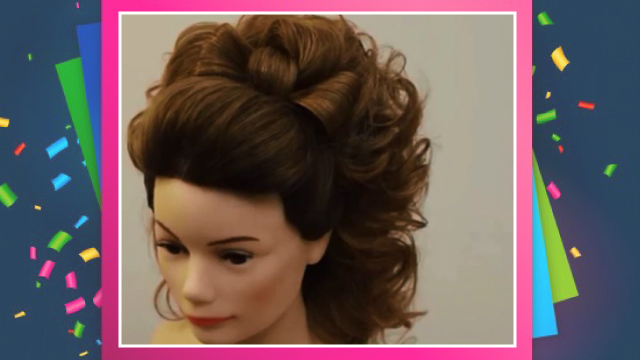
How To: Simple Low Chignon Bun
In this tutorial, you’ll learn a simple low chignon bun.
Instructions:
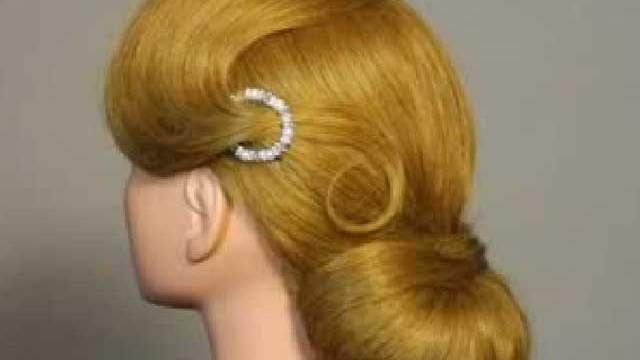
As our first step, let's separate the hair with regard to our chignondesign. Let's separate the hair from one ear to the other. Start on the side of the ear. Also, separate the top of the hair in a direct line. Now hold this part of the hair. Since I want to wrap the back of the hair using a hairpin, later on, letâÂÂs tease this part first to make our basis for the chignon and then move on to the rest of the work. Choose your layers in a direct line and for a correct teasing move your brush four or five centimeters above the root and brush down to the root. After you've reached the root, pull the brush out and repeat the process. If teasing is correct, the hair will stand horizontally when you let it fall, if not it will fall flat. Tease the hair layer by layer and apply styling spray. For the last layer, tease the surface of the hair instead of the back. Meaning the brush will work on the upper side of the layer. Now bring the layers back down on each other and widen them a bit. Now brush the surface of the hair without going too deep. Just brush the surface. Now hold the hair down with your hand and add a hairpin in the middle. Now to prevent the hair from getting loose, add another hairpin in the opposite direction. Let the sides remain for now and just use the pins in the middle.
Now let's move to the crown of the hair. For the front of the hair, measure the hair with an open palm of your hand and work from that point on. This is the crown of the hair and for this part split the hair in a straight line. If the part we separated from the front is too long,
We can shorten it by moving the straight line of separation forward. You can add this excess to the crown to increase the volume of hair for this area. Brush the hair, then separate layers in straight lines, and start teasing. You could use volume powders if you are an amateur, otherwise, just stick to teasing natural hair.
Now separate another layer in a straight line, hold the hair up and start teasing the hair from five centimeters above the root. Bring the layers down and widen them. At this point in your work, how you brush the hair is very important. Don't brush the hair back, instead, brush the hair up so the hair doesn't lose its puffiness. Brush the crown and spray the hair against the grain. Now brush again. If there are places where you can see the teased hair on the surface, use the tip of the brush to fix that. When the hair is straight, hold the hair in your hand, and apply some styling spray.
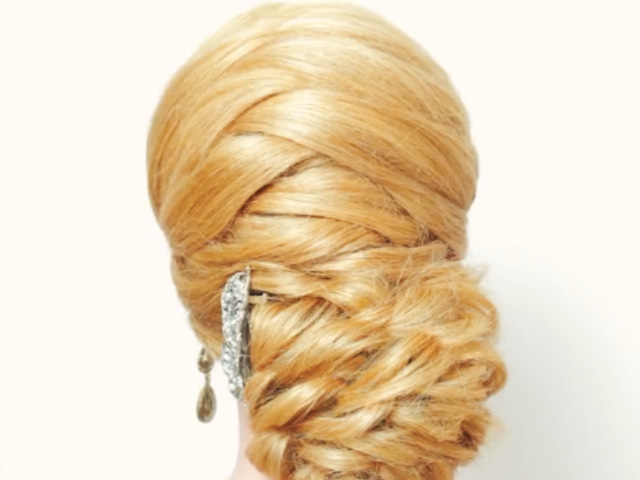
Prepare a prosthetic or silicon piece and fix it on the area where you added your hairpins before. If you add the prosthetic on a lower position on the hair, the chignon will be lowered and if you use a bigger prosthetic, the chignon will be bigger. The size of the prosthetic depends on your preference. Use a hairpin to fix it in place. Add the hairpins on the direction of the original hairpin under the prosthetic. The prosthetic must be completely fixed in place. Otherwise, the chignon you work on top of it will also be loose. When the prosthetic is in place, apply some styling spray,
Then brush the hair from the middle to make sure there are no tangles, and then pick a layer from the middle of the hair. Brush the hair and tease the surface slightly and put the hair up. Brush the surface of the hair but be careful not to brush too deep. Put the hair on the middle of the prosthetic, widen it, and apply styling spray.
For now, we leave the hair on the sides of the ear to remain free and move to the hair behind the ears. Tease the surface and apply some styling spray. Brush the hair gently, widen it, and pull it over the prosthetic. Use the tip of your brush. Fix the hair with a hairpin. Brush the hair from the root, make it even it out with the part from the middle. Apply styling spray. To prevent the hair from getting loose, I'll add another hairpin to the bottom. Now I can remove the hairpin and add it again after fixing the hair a little. You can either put the rest of the hair under the prosthetic or add it to the hair on the other side and put it over the prosthetic. Mirror the design on the other side here as well.
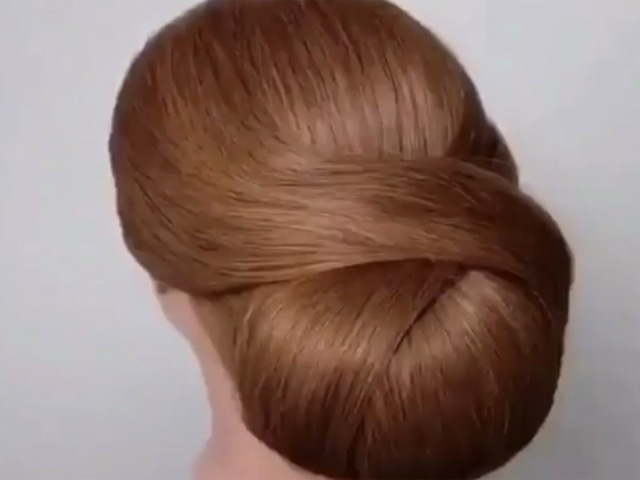
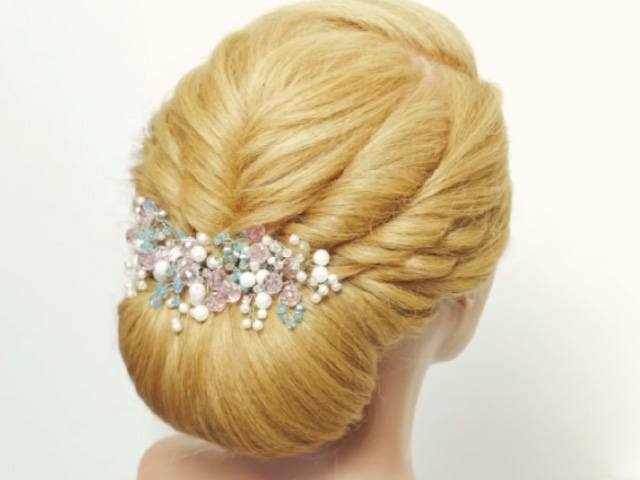
Gather the hair completely and add another hairpin to fix the hair in place. Keep the rest of the hair. Add some hair cream to it and put it behind the layer on the opposite side after wrapping it around your fingers. Now use a hairpin to fix it in place. If you see a spot on the hair that is uneven, use the tip of your brush to bring it out or fix it. Now apply some styling spray to smooth the surface. Remove the hairpins and apply styling spray.
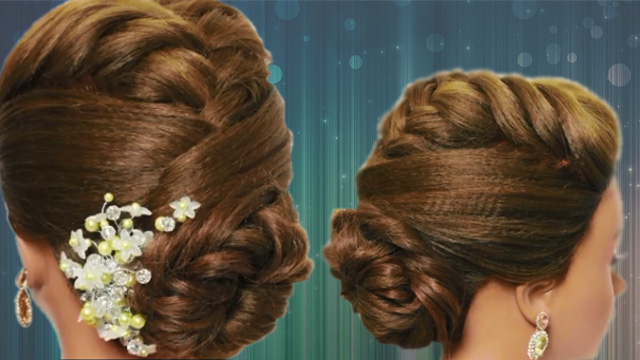
Now let's move on to the front of the hair. Let's start on the side. For the split section, start in a straight line from the arch of the eyebrow. If you want to add some flavor to your work, you can do the split section with zigzags. Brush the hair to make sure there are no tangles. Split the hair into two sections. Hold the hair up and tease it from the back. Widen the hair towards the face a little. The other side of the layer must stick to the crown of the hair. Twist it slightly. Fix it with a hairpin and start creating delicate lines on the hair starting at the root. Dry it with styling spray and move to the next part. The side must stick to the part of the hair from the crown. Widen the hair a little, wrap the rest of it, and hold it with a hairpin. Create delicate lines on the hair. Dry it and add a hairpin to prevent it from moving away from the prosthetic. Add some hair cream to the rest of the hair and put it under the hair. I want to do a simple braid on the bangs. To make it look better, let's free some hair to hang on the face. Separate the hair with zigzag moves. All the splits are separated with zigzags to hide the scalp. Brush the hair on the top with a small amount of hair cream.
After separating the different parts of the hair the way we did, you get an angle on the top as you see. Here you should pick a layer of hair in the form of a triangle. Hold this section of hair in your hand and separate it into three parts. The last section goes over the middle section, the section on the other end goes to the middle as well, and then the first step is repeated. Now separate another layer, add it to the closes layer, and continue as before. With each step, add a new layer of hair from either side of the hair. Choose the layers diagonally, not in straight lines. Add some hair cream to make the work easier. Hold the hair, separate another layer and bring it to the middle. To hide the scalp on the upper split line, the braid must move slightly upward rather than down and the braid must be loose.
Make sure the bangs aren't included in the braid. Pick another layer diagonally and add to your braid. Hold the hair, separate another layer and bring it to the middle. After the braid is over, pull the layers of the braid to make them a little loose. Use hairpins to hold the braid in place. Wrap the end of the braid, bring it under your coup in the back, and cover it with your braid. After the work is done, I'm going to add the final touches and fix some parts. I'll use styling spray to smooth the surface. To fix it, I'm going to add a few hairpins to the hair and fix it on the prosthetic after the styling spray is dry.
Hold the hair up and tease it from behind. Apply so styling spray. Start pulling the hair on the front. Blow on the hair to dry it and brush it so there are no tangles. Pull a piece of hair forward. Blow it to make sure it's dry and apply styling spray on the surface and back. Now pull on the back of the hair. Pull the hair and blow on it after applying styling spray. again, pull the hair to the front, blow it until it's completely dry. Brush the tip of the hair.
This concludes our tutorial. To join our classes, please contact us using the numbers in the description.