How To: Hair Hightlights With Foil
In this tutorial, you’ll learn hair highlighting using foil wraps. This video is provided by Mrs. Parvane Habibi from Chatr-E-Gol academy. To join our classes, please contact us at .
Instructions:
Greetings. I’m Parvane Habibi from Chatr-E-Gol academy. I’m a hairstylist and makeup artist. Today I want to talk to you about hair highlighting and hair dye.
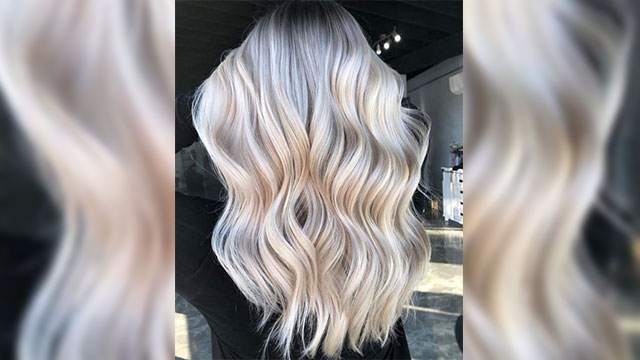
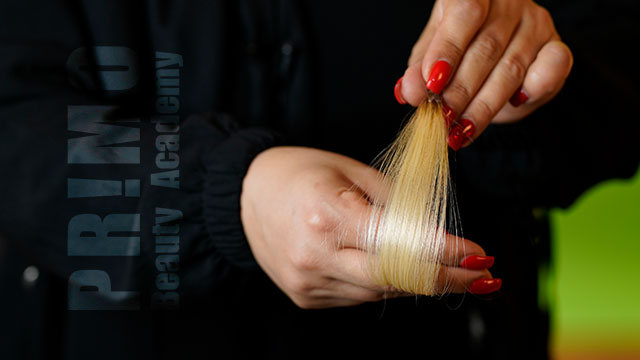
For this type of highlight, you have to lighten the hair using light colors and triple-zero colors from your chosen hair coloring material. I’ve used Val var’s triple-zero dye. As you can see, the hair has reached level 5 or 6. Now I’m going to start wrapping the hair in foil. Why did I dye the hair light up to this level?
Because I want to use a wine color on this hair, and this color looks much better on lighter hair.
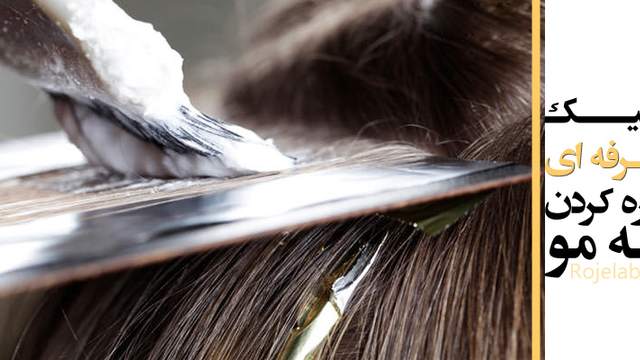
I’m separating the parts of the hair that I want to wrap inside the foil. In this technique, the dyeing process starts immediately after bleaching and for this reason, it’s very important that you go through the process with speed. This process produces beautiful results. It’s because the backgrounds we use include wine color, copper, and fantasy colors and the resulting highlights look great on the hair.
I’m using blue bleaching powder by Val var and 9 percent oxidant solution also by Val var. Why aren’t we using 12 percent oxidant solutions?
It’s because 12 percent oxidant in combination with a powerful decoloring powder can damage the hair. The heat generated by the foil wrap also increases the chances of hair damage and by the time you reach the front of the hair, the back could be burned. Let’s bend the foil in the middle, on the edges, and on sides to make sure it doesn’t slip. If the correct material coupled with the right technique for adding the product is used, there’s no way the foil will slip.
Now the next layer. The rest of the hair left outside the foil will get a wine colored dye. Wrap the foil when you’ve added the formula across the hair. It’s better to do this process with the help of assistant. Since we want to go through the process as soon as possible, an assistant can help you increase the speed. After wrapping all the layers we want inside the foil,
We can dye the rest of the hair with a wine color using Val var’s purple or violet dye mixed with a bit of red 7.66 which can give the hair a more beautiful look.
Let me apply the background color to the hair and come back to you. Since this is a model hair and the top parts already have a highlight, we could damage the hair if we wait too long. After wrapping the hair in foil, you have to choose and apply the background color. You have many choices and depending on your client’s preference, you can choose any color you want. I chose a light mahogany violet. This color looks very good when combined with a highlight. Based on your preference, you could choose ash golden, copper, chocolate, or coffee brown as your basis or background color.
I’m going to use light mahogany violet only. It’s better to use 6 percent oxidant solution. This is our light mahogany violet. Pour as much as you need, use your brush to stir it a bit and then add your oxidant. You should add your oxidant so the mixture looks like a cream. It shouldn’t be pasty, but it should not be diluted either. Stir and mix the formula thoroughly to make sure it’s completely mixed and there are no hard grains or convoluted dye in your mix. Now let’s add the formula to the hair. We continue applying our dye and highlight like this.
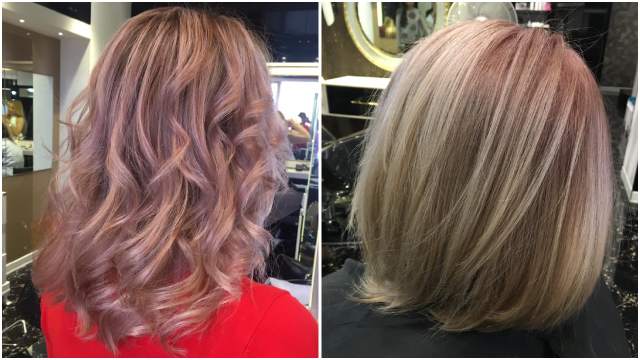
After the dye and highlights have taken effect, we rinse the hair. The dye on the other layers of the hair will affect the rest of the highlight and gives it a beautiful pink color. Keep in mind that this process should be performed as fast as possible and it’s better done with an assistant so while one person is wrapping the foil, the other one can apply the dye. This is as far as I’m going for this tutorial. I’m going to rinse the hair and come back to you with the results.
I have finished the dye and highlight process. You can be sure to get a much better result on actual hair and the highlights will look much better. This is partly because a model head doesn’t have the body heat to help the process, but even now the results look quite good. With this method, you get a beautiful wine colored striped hair mixed with pink highlight. It’s beautiful work for people who are harder to satisfy.
I hope you have enjoyed this tutorial.