How To: Simple Nail Implant A to Z
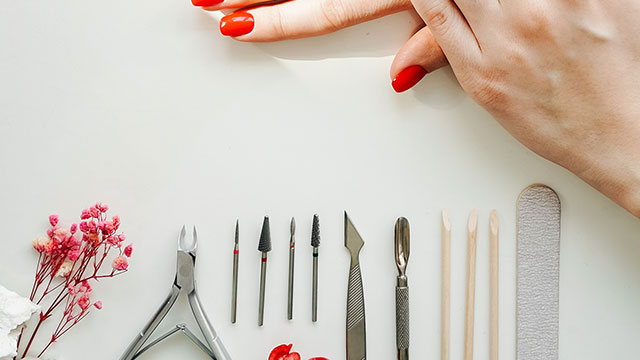
If you know already how to do this particular nail implant method, you should be able to perform any other type of nail implant. The very first thing to do is clip the natural nail. Then put the sharp bit to the drill and start removing the cuticles.
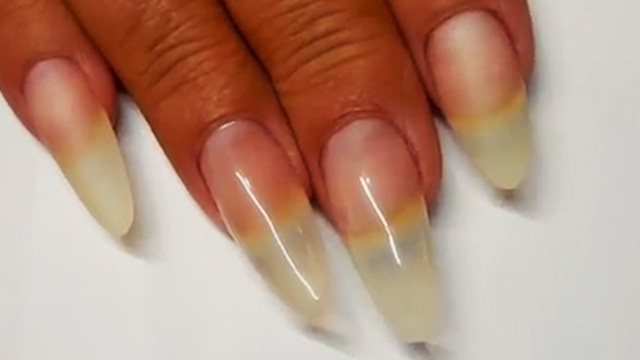
In the next step, take a nail tip of the client’s size. Put it on one third the length of the nail and trim it to the desired length. Put the diamond bit and start scrubbing the surface till the tip end is on the same level with the natural nail’s surface. Then apply the primer.
Begin applying the liquid and powder material. Put some material at the nail base and smear it across the nail to the edge. Below, you can watch a video containing a full instruction of this treatment.
Instructions:
Hello everyone, I'm a nail technician from Matin Rooyan institute. Today I'm gonna show you a simple nail implant technique. as you already know, if you learn to do this implant properly, you won't have any problem in doing other types of nail implants. the first thing to do is clip the nail which I've already done it here, then put the sharp drill bit to the electric file. and start removing the cuticles as much as needed. This is to prevent the material from touching the skin at the base of the nail. it has to be done with sufficient care. Then pick a nail tip suitable to the client's nail size and put it on her nail. be careful that the tip must closely fit the client's nail, neither smaller nor bigger. apply the adhesive gel to the tip. and put it on one third the nail length from the edge, not further otherwise it won't give a good look to the nail. Then cut it to the desired length.
As you see, the surface of the nail is uneven due to the tip edge on the natural nail, so we have to make this surface smooth enough so that it won't be showing after applying the material to the nail surface. to do this, therefore, I'm putting a diamond bit to the file. the first thing I'll try to do is remove this tip edge on the nail surface possibly with one single touch. try not to touch the file to the tip so much to avoid making it too thin. Then use the manual file to make it well uniform. well as you see, the tip is almost in the same level as the nail's surface. Then go to use the primer. be careful not to let the primer dry before using further material, a dried primer on the surface has no quality to work well. apply the primer thoroughly to the nail's surface. Then right after, go over the liquid and the powder. you can pick the colour of the client's choice for the powder, it could be pink, white or peach in colour.
Just see that the more specifically you apply the material, the less time you will spend filing the nails. I try to put the material in a way that it won't need the brush to be rubbed more than three or four times on the nail. start rubbing gently from the base and continue to the edge. in the second pass, start from the edge and go down to the base. just like this. first spread the material on the surface before rubbing it down to the base. do it carefully to avoid touching the material to the client's skin around the nail. Then look at the nail closely from different angles to check if it needs more material anywhere on the nail. give it some time to dry, I need to say when you're working on your ten fingers, the first one will have dried before you've completed the tenth one. so I'll wait till this one dries, then I'll show you how to file it. now I'm gonna file this nail having dried material on the surface. as we wish to make a curved shape nail for the client, we have to file it in curved motions just like this.
Keep doing this. to remove the extra material remaining on the nail and smooth its surface. well, after doing that, take the manual file to make the nail into your desired shape. I have square-shaped nails, so I'll file it into a square. smooth the nail's edges well. now here's with removing the roots which means making the part at the base as thin as possible. This is to avoid causing air traps with the nail's growth. If this part is not made thin enough, it will grow fungus as well as causing air trap. therefore we'll do it with a gentle pressure so that it won't hurt the client's hand too much. be careful to move the bit closely on nail base. in curved movements. Then gently move across the nail's surface. after that, pick the manual file and re-scrub the nail. try to make it pretty smooth so that when nail polish is applied, it gives a natural attractive look to the nail. Then rub the nail first with the soft side of the scrubber in order to remove the scratches on the nail.
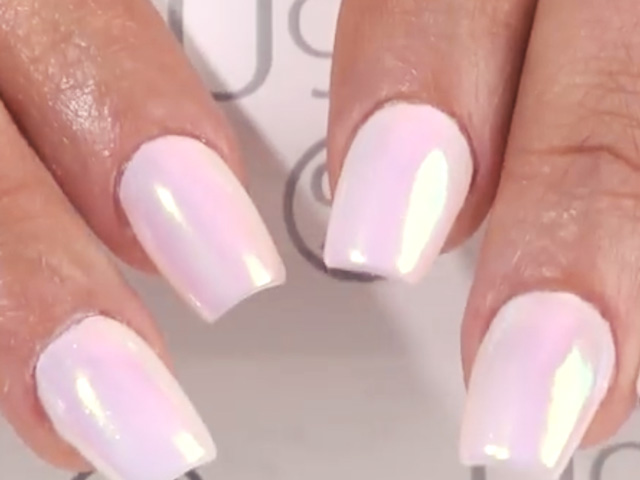
First with the soft side, then the rough side and again the soft side. now apply the oil. well, we're done here. as you see, it's quite smooth and even.