How To: Nail Gel Polish For Beginners
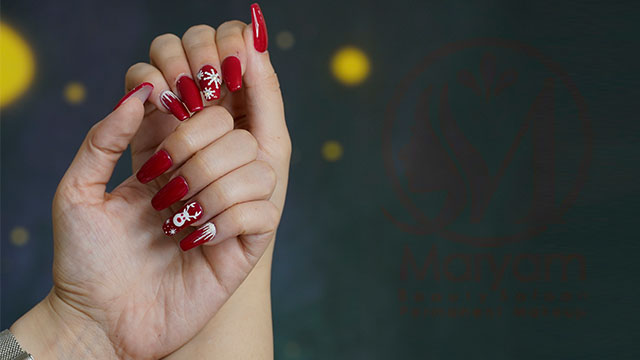
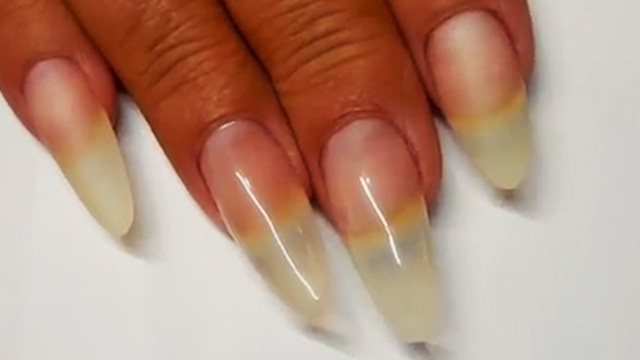
If you feel like your nails are already long and strong enough and don’t need any nail extensions to add length and strength, we recommend doing a gel nail polish to achieve further glossy attractive and yet natural-looking nails.
Preparations for receiving gel polish involves doing a simple manicure to the nails and using the electric nail file to eliminate superficial fat and moisture from the surface. It’s also advised that you apply anti-fungus to the nail’s surface prior to adding gel layers.
Instructions:
Hello everyone welcome to Rojelab website, This is Elnaz Derakhshande, a manicure expert. Today I'm gonna show you how to apply gel polish to natural nails. This treatment is best recommended to those who have strong firm nails. If they keep their nails long, they have to be strong enough to apply gel polish to. however, the gel polish itself, owing to its keratin content, can contribute to the nail's strength. to begin the process, we need to push the nail cuticles back using a cuticle stick. This is actually a simple manicure to do for nails. after doing the cuticles, I'll now go use the electric file. the filing is for removing the excess skin and fat around the nails.
Now take the nippers and start clipping the cuticles you pushed back to the nail's base, but be careful not to clip it too much that pulls the skin and tears it. it's better that the nail's surface be free of any fat and moisture before receiving the gel polish. so, I'll put the sand bit to the drill and start scraping the surface of the nail very gently to the extent that it causes no damage to the nail. I'll just put some extremely light scratches on the surface so as to remove the fat off the nail's surface. some minor scratches will suffice. you can apply anti-fungus as a primer to the surface, but you don't have to. One of the reasons we use ant-fungus is to eliminate excess moisture and fat off the surface. after applying the anti-fungus, I'll add a thin layer of gel primer to the surface.
But be very careful to keep it off the cuticle while applying each gel to the surface. one more point to keep in mind in gel polish application is that you must seal the edges of the nail on the tip. not sealing the edges properly could result in the gel layer running too long on the surface. after adding the base layer, place the finger in the LED device for 60 seconds. now here comes to adding the main layer, depending on the liquid's thickness, apply a layer of gel to the surface. If your liquid is not thick enough and doesn't give sufficient coverage by adding just one layer, you can add up to 3 thin layers to provide enough coverage.
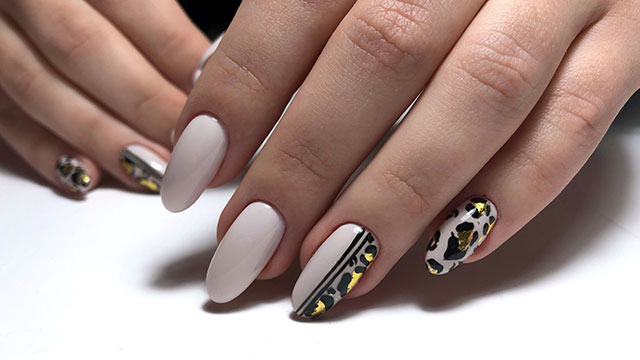
And again it goes in the LED device for 60 seconds. now I'll add the second layer and as I said it should be a very light thin layer. Then, it's again placed in the LED device. well, the last step includes applying the top coat which is added to the surface in a thin layer. there are two types of gel for the top coat, one provides excellent gloss, leaving no sticky surface after application. and the other may leave a sticky surface which will need cleansing after you take the nail out of the LED device. a cleansing pad is then used to scrub the surface so that it gets its glossy effect back. well, we're now done with this nail gel polish item, I hope you've enjoyed it. To join our instruction courses or receive any beauty treatment, please dial the numbers provided.