How To: Using Keratin To Straighten Hair
In this tutorial, we talk about Keratin material and its different types, uses, and applications. We will compare the hair before and after the Keratin application.
Instructions:
Greetings. First, I want to talk a little about hair Keratin. Keratin is a type of protein, which is found in nails, bones, and hair. Keratin has different types. I want to talk to you about what we want to do and what uses Keratin has.
We use Keratin for hair restoration on damaged hair. We aim to restore the hair and bring it back to a healthy and stable state. We also use Keratin to straighten the hair. If you have frizzy, curly, or damaged hair and want to straighten it without damaging it, Keratin could be a suitable choice. To see how keratin is actually used, I will perform the process here so you can see up close.
To start the process, we have to separate the hair and wash it with shampoo before starting the job. We then have to apply the material suitably and give enough time to the material to affect the hair. Some materials require you to wait a while and quarantine the hair afterward for three days. However, there are new products in the market that do not require you to wait and quarantine the hair and we usually wash the hair right after the process. These products can finish the job in one hour. Whether you are restoring the hair or straightening it, it does not require you to wait at all.
The new products can give you the same results as the old ones and the restoration process brings the hair back to its original state because it is completely organic without releasing any gas or smell. You can straighten the hair using these materials without worrying about your hair dye. It will not damage the hair and you can dye your hair five days after straightening. You can use these products on highlighted or dyed hair. However, there are certain rules and techniques you have to use and pay attention to during Keratin application which if you like you can learn in our classes.
I will perform a Keratin process for you here. I will wash the hair before the Keratin process and then separate them into layers. Because of time constraints, I will only perform the process on one layer of hair. I will wash the material off the hair immediately after application and.
We will straighten the hair will a blow dryer easily. It will also recover the hair without any problems. I separated the hair into four parts, but for now, I will only work on the front of the hair. We have already washed the hair.
Separate thin layers of hair starting at the top of the layer and apply the material. Separate a thin layer of hair and start applying the material to it half a centimeter away from the hair. You should apply the material to the entire layer. Brush the hair to remove any excess material that might be on the layer. Let’s move to the next layer. Separate a thin layer and apply the material. Repeat the process as before. Brush both layers and remove any excess material. We continue the same way for all the layers. Brush the hair to remove any excess material.
Brushing the hair helps remove any excess material and you will not need to blow-dry the hair for an extended time to dry it. You can be sure that this material will not damage your hair because it’s completely plant-based and as you can see, I am performing the process without gloves. You can wear gloves if you prefer, but since there is no gas or smell, it will not bother you. The material should be applied to all the hair. After applying the material all across the hairbrush all the layers together and remove any excess material that exists. Now wrap the hair in a cover and let it remain for a while and then we can blow-dry the hair.
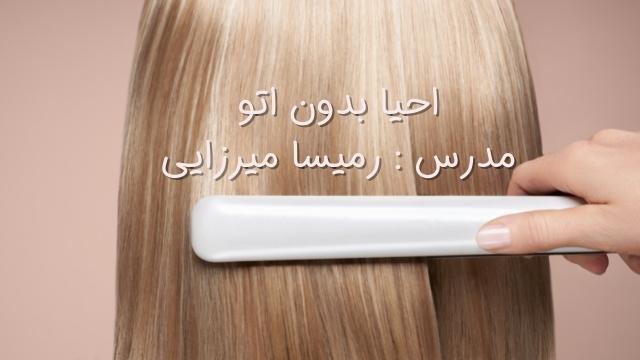
After waiting the allotted time, we should iron the hair before blow-drying it. How to set the hair iron’s temperature depends on the hair type, which is something you will learn in our classes if you are interested. Put the hair in the hair iron and pull it to make sure all the material is absorbed by the hair. Brush each layer carefully and move on to the next one. It is important to get through each layer faster because the material should not remain on the hair longer than it is supposed to. This will straighten your hair if it is frizzy, curly, dyed, or even damaged without damaging it any further.
The advantage of this type of product is that you can highlight or dye your hair after this process as well without any problem. After ironing the hair, we will wash the hair and the client will see the results immediately without requiring any quarantine. Not requiring quarantine means you will see the results immediately and you will not have to avoid using hair clips or washing your hair for the next few days and you can see the results immediately after washing the hair. The hair will be completely straight after washing and blow-drying it and does not require brushing.
After ironing the hair, I will wash it and the hair will be completely straight. This is the last stage of the process and you will see how it differs from the original hair. I washed the hair with shampoo and conditioner and now I want to dry the hair. After drying the hair, you will get the result as you can see here. As I said before, the material is completely organic and does not damage the hair at all. The result is soft and straight hair. You can see how straight and lush our hair looks compared to the damaged layers without Keratin.


