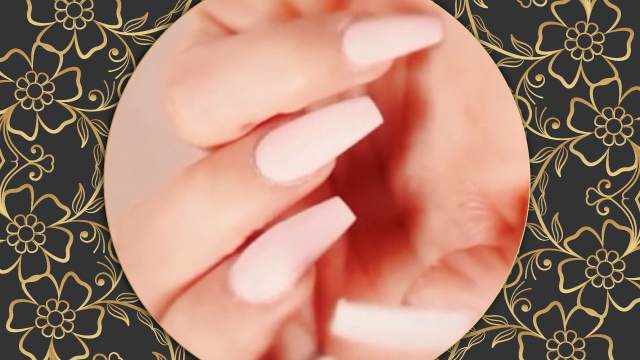
How To: French Nail Design
In this tutorial, we will show you how to design and form a French nail design. This video was provided by Kimia Beauty Salon. To join our classes, or to book our services, please contact us at the numbers provided in the video.
Instructions:
Greeting to everyone watching Rojelab.net. I am Sahar Sorahi. I am a nail designer from Kimia Beauty Salon. Today I want to talk to you about naildesign.
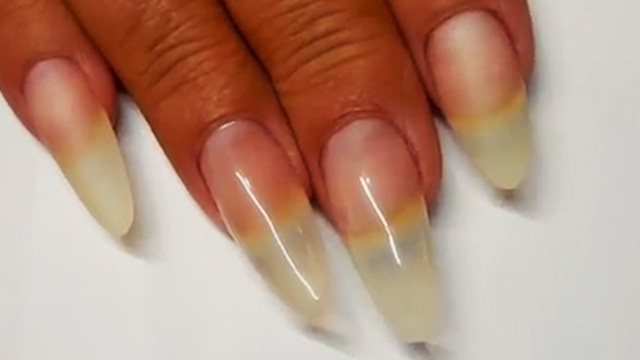
To start a naildesign, like any other design, we should begin by preparing the foundation for the job. You should shorten the tip of the nail to a degree. It should not be so short as to touch the tissue, or so long, that it would be visible from under the tip. Now use your electric brush to scrub around the nail and push the cuticles back as much as possible.
You can use a scrubbing stick or your electric scrub to scratch the surface of the nail. Here I am going to use my scrubbing stick. Choose the right size for the tip and attach it to the surface. The size of the tips should fit the nail completely. Hold the tip on the nail for a few seconds for it to attach firmly in place. To attach the tip the right way, hold the finger a little upward and hold the tip down a bit to give it a gentle curve. Cut the tip based on the design you have in mind and how long the client prefers her nail to be.
Fade the line on the end of the tip to the point where it is not visible anymore. First, apply some cleanser to the nail and cover the whole nail. Let’s give it a moment to dry. Now apply the primer to the surface. Pick your Pick up a bit of your liquid powder. It should not be too hard or too soft. Apply the material to the surface of the nail and form it with your brush. After forming the product on the nail with your brush, you should give it a few moments to dry a bit so you can use your electric brush and form your smile line.
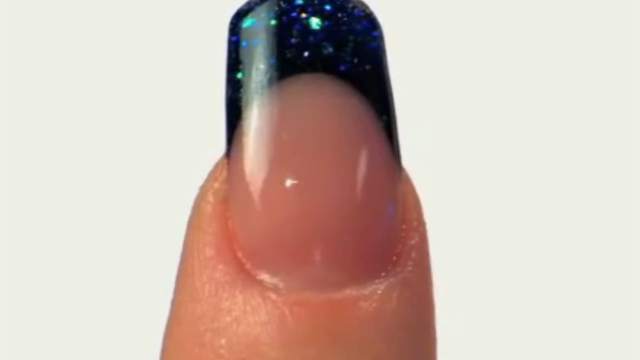
Now use a thin scrub tip to create and style your smile line. You can now apply the French with any color you like based on what you prefer. Push the material down and fill in the corners as well. Apply the material to every corner of the nail and any area where you think needs more material to get an even level of products across the whole nail. Again, wait for a while for the material to dry. When you apply a French design, you do not have to apply another layer of clear powder on the top. Now use a brush to remove the material from around the nail. Use your electric brush to smooth the surface. Use a scrub stick to form the nail a bit more and get the final design you have in mind.
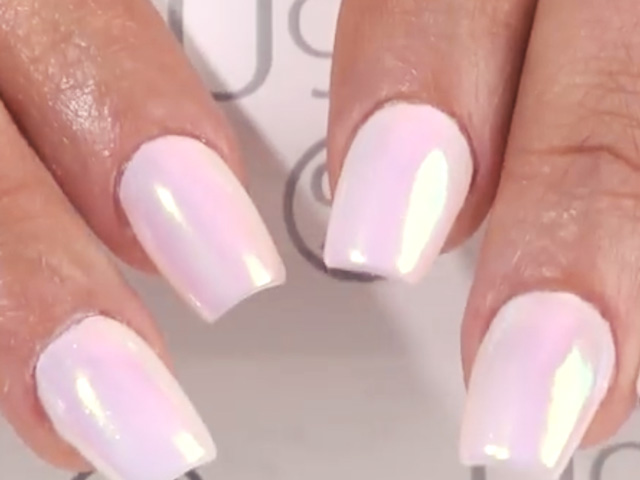
Now we can apply a layer of gel to cover the surface of the nail and preserve the design. Start applying the gel from the top of the nail to the bottom and always make sure to close the layer by applying some gel on the tip of the nail. Now put the nail under LED light for sixty seconds. We have finished the design. I hope you have enjoyed this video. To join our classes, or to book our services, please contact Kimia Beauty Salon at the numbers provided in the video. Thank you for watching.