How To: Eyebrow Micro-Pigmentation
In this tutorial, you will learn all about micro-pigmentation procedures. This video was provided by Mrs. Faeze Jafari. To join our classes, please contact us at .
Instructions:
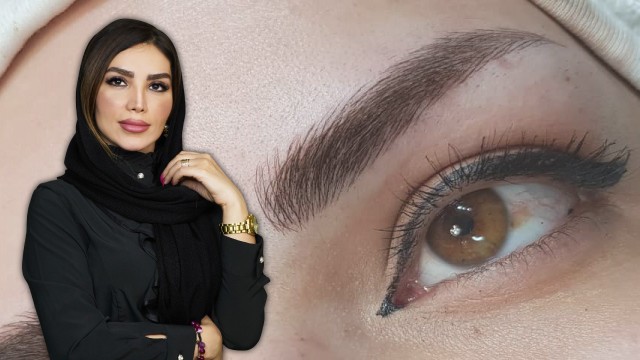
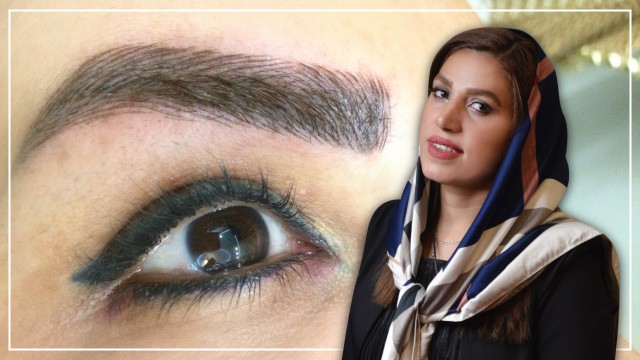
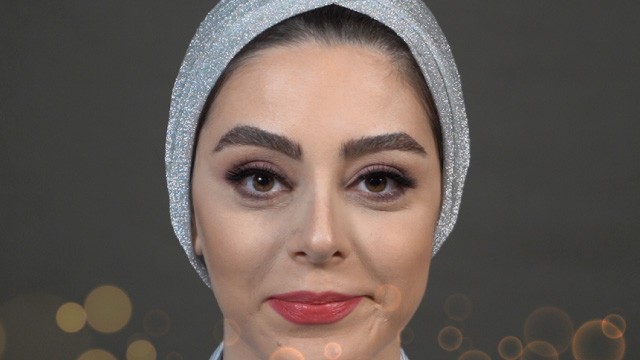
Greetings to everyone watching Rojelab.net. I am Faeze Jafari.
I am a micro-blading and micro-pigmentation expert and today I want to talk to you about eyebrow micro-pigmentation.
Micro-pigmentation is the process of injection pigment particles into the skin between the Epidermis and Dermis layers using the most hygienic and latest methods. In this process, we use sterile cartridges and all the material is single-use and hygienic. In the micro-pigmentation process, the most important factor is paying attention to hygiene standards. Make sure to gather all the information you need from your client before the procedure and make sure they are not affected by any diseases. Ask your client if they are lactating, pregnant, have diabetes or heart disease.
The second important factor is the design and color the client likes. You should understand the anatomy of the face and have a thorough understanding of facial anatomy. You should also consider what the client prefers and ask them how they like their eyebrows to look. However, you should always involve the client in the decision making process as long as you don’t deviate from the standards because sometimes the client might ask for designs that don’t compliment their anatomy, their skin type, social standing, or age and you should make sure to let the client know what is in their best interest.
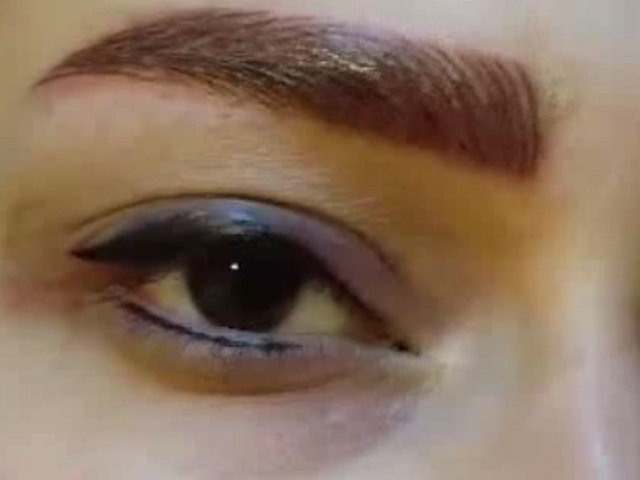
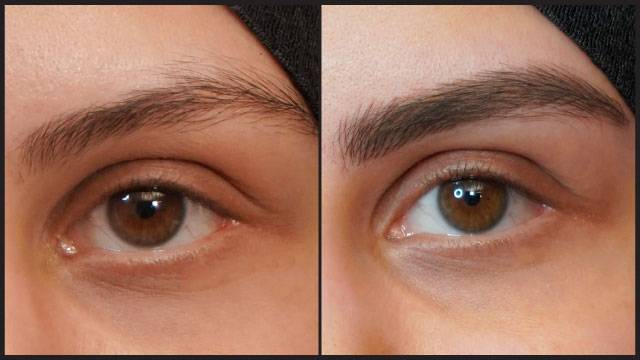
Sometimes the client might have a request that you cannot do in one session. For example, imagine you have a client with eyebrows that have already been tattooed a long time ago and the tattoo looks gray and they want to turn this into blond eyebrows in one sitting. You should let your client know that this would take multiple sessions and then start the process. Let’s start designing the eyebrows. My client has oily skin, rather dark skin and would like to pigment her eyebrows blond. Make sure to ask your client about what they like. About whether they want the crown on the eyebrow more horizontal or vertical because this is the most important part of eyebrows. Start the process only after talking to your client. Here, we are trying to widen the eyebrows a little bit and cover the previous tattoo and make sure the eyebrows are symmetrical.
If you have experience in eyebrows pigmentation, you do not need to use tools for the design and to check.
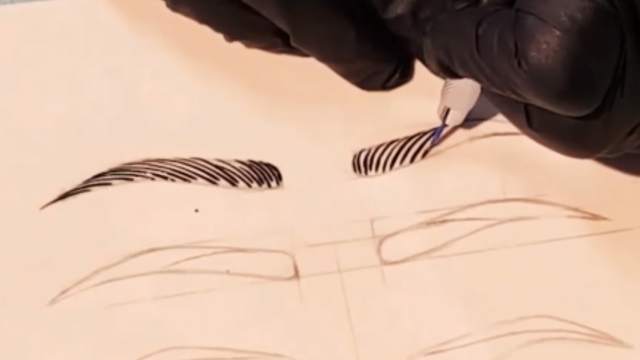
For symmetry but if you are new to this type of work, you must always use the correct tools to design the eyebrows. Try to use a light-colored pencil for your dark and light hachures as much as possible. Because when you apply the initial design and want to let the client see what the final work will look like, it can scare the client away since a dark pencil makes the eyebrows look too full whereas our final work uses only hachures.
Aligning the different parts of the eyebrow in their right places and side by side symmetrically is a crucial part of this work. As I said, those of you who have experience with eyebrow micro-pigmentation can do this without tools and using your eyes only, but for those of you with less experience, you should always use the tools for the design. I designed the eyebrows based on what the client requested, and after my client approves of the design, I can move on with the rest of the process. Always unpack the cartridge in front of the client so they can see the seal was not broken before.
Let’s attach the cartridge to the device and start working. I should note that after applying the first few hachure lines, you should clean the skin and then investigate the hachures to make sure about the quality of the pigmentation and skin’s ability to accept them and.
Then you can adjust the depth of the needle and method of work. The cartridge I use here is a single-headed cartridge. Make sure about the quality of the pigmentation and skin’s ability to accept them and adjust the depth of the needle.
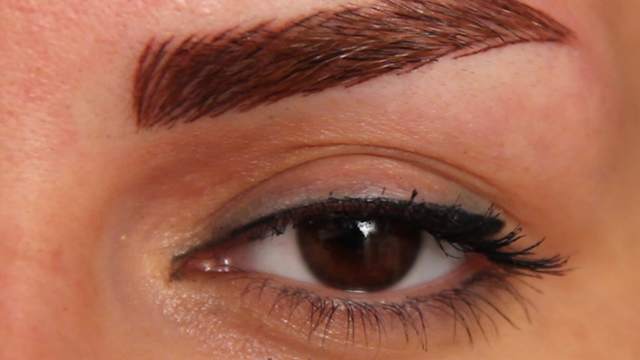
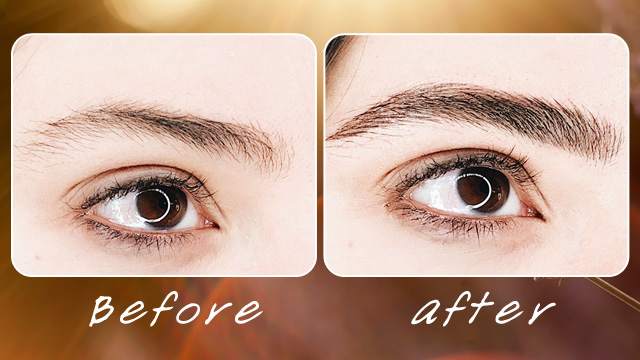
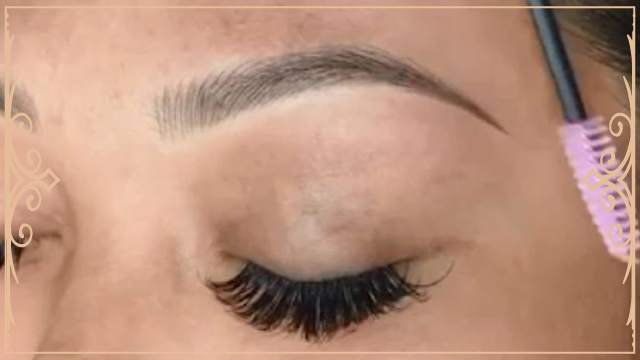
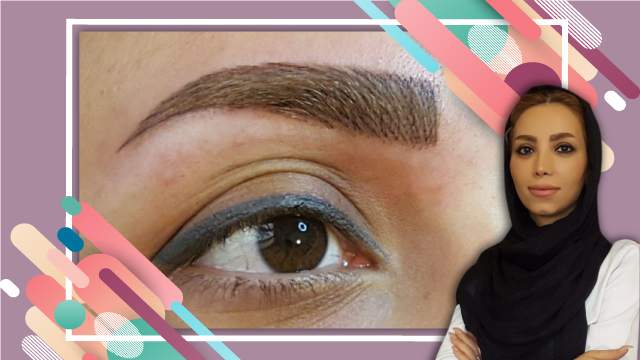
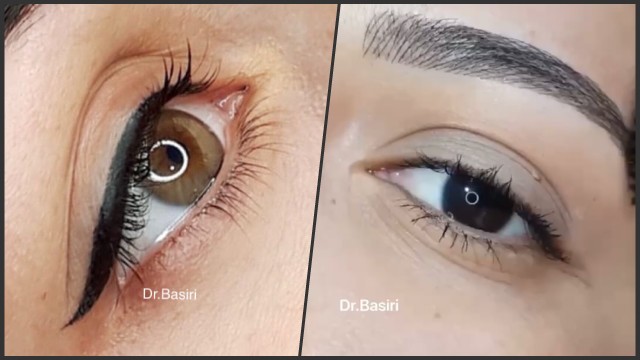
My work is finished. I should note that all the hachures should be in the same direction as the hair. The hachures should all be thin and delicate. How long and how far you draw the hachures also make a big difference and matter a lot. I will brush the eyebrows so you can have a closer look. There was an old tattoo at the end of her eyebrow, which we covered. We have to draw delicate and thin hachures to combine them with natural hair and get the best result possible. I hope you have enjoyed this tutorial. We will be back with more tutorials and will talk to you about micro-blading in future videos.