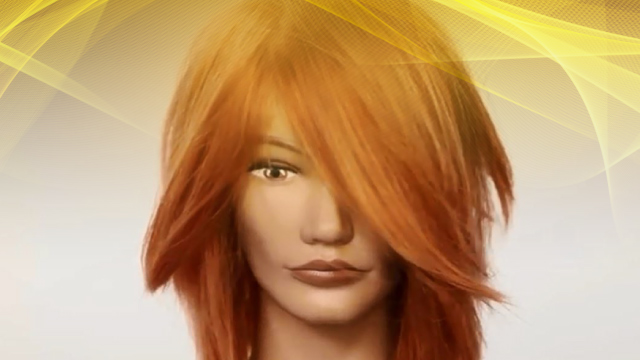
Ombre Highlight Using A New Method
In this tutorial, you will learn a new method to apply Ombre highlights. This video was provided by Mrs. Anousha Shafi’e.
Instructions:
Greetings. I am Anousha Shafi’e from Ostoure Cosmetic Group. Today I want to talk to you about the newest cosmetic methods in 2017. We can use this technique for our Ombre highlights. The difference with the previous layers is that we separated our layers diagonally starting from the bottom, but here we separate the layers vertically.
Let’s separate the hair from one ear to the other and in the middle section. Now separate a layer of the hair vertically right here. The mix we use for this process should be pasty since we are performing a balayage and the hair should reach the level of bleach required in the open air. We are going to use silicone brushes to apply the pasty mixture to the hair layer.
Pay attention to the client’s face and preference. If the client prefers to have the highlight start close to the root, then apply the material starting at that point. Otherwise, start anywhere the client likes. Therefore, if we imagine this model as our client and they want the Ombre highlight to start from here,
We should apply the material to the hair starting at this point. We cannot reapply the material on the top of the hair, so we might not be able to bleach the hair very white at these points. However, we can reapply the material to the lower parts of the hair. Pick some of the material from the container and apply it to the hair layer from the point the client likes the highlight to start. We can also use a palette for this process.
Apply the material all over the hair. After applying the material, use your hand to fade the mixture on the hair. If you are working with thick and dark hair, you can use foam or foil wraps at the bottom of the layer, since the hair contains more red and blue pigments and might need an extra push to bleach. That is it for the first layer. On the opposite side, we separate a layer equal in size to the one on the other side. You should have a mirror in front of the client so you can check for symmetry and apply the material to this layer exactly the same way you did for the other one. I do not have a mirror here, but I will do my best to apply the product correctly.
Apply the product to this point and then move on to the lower part. Use a bigger brush and apply the material to the lower part of the hair layer exactly the same way you did for the layer on the other side. If you are worried that you might not reach the layer of bleach you have in mind, you could use foam or foil wraps. You can use a more powerful oxidant for the lower part, and a weaker one for the upper part of the hair layer, which will give you a nice highlight across the layer as well. Let’s fade the material on the layer. Separate the next layer. Pull it toward yourself and start applying the material from the same point as the other layers.
Apply the material and then change your brush and use a bigger one. It is better if you use a palette. Fade the material a little bit. Apply it until the end of the layer, starting at the same point as the previous layer to get a unified highlight across the hair layers. You could use coloring powders, or light colors if you are working with natural hair. We usually use this type of hairbrush for bleaching procedures, because it can help get the product all over the hair layer if it is a little thick. This will help you make sure the material has reached all the layers evenly.
Do not worry about the layers touching each other, because when your mixture is pasty enough, the material will not get on other layers even if they touch. However, if you are new to this and are worried they might ruin your highlight, you could use a foam wrap between the layers to make sure they do not touch each other. We will mirror the process on the other side as well. We did the same thing on the back of the head as well by separating the hair layers vertically and applying the product. To make sure the layers will not touch, you can use these foam wraps. Nevertheless, if the material is pasty enough, it will not get on the other layers even if you omit using the foam wraps and you will reach the level of bleach easily.
After bleaching the hair, rinse the hair. If the client wants to dye only the bleached parts, then do that. Otherwise, start in the back of the head and use the same techniques you would for any normal hair dye. This way you will dye the whole hair and the bleached layers will have a highlight in the same color. The classes we offer are not limited to hairstyling. You can join our classes to learn more about nail arts, chignons, skin cleansing, makeup, and all the other subjects related to cosmetics and makeup. I hope to see you all. Please contact us using the numbers in the description. Until next time, goodbye.