How To: Highlight Hair The Correct Way
In this tutorial, you will learn how to apply a highlight using foil wraps. This video was provided by Mrs. Zahra Karimi.
Instructions:
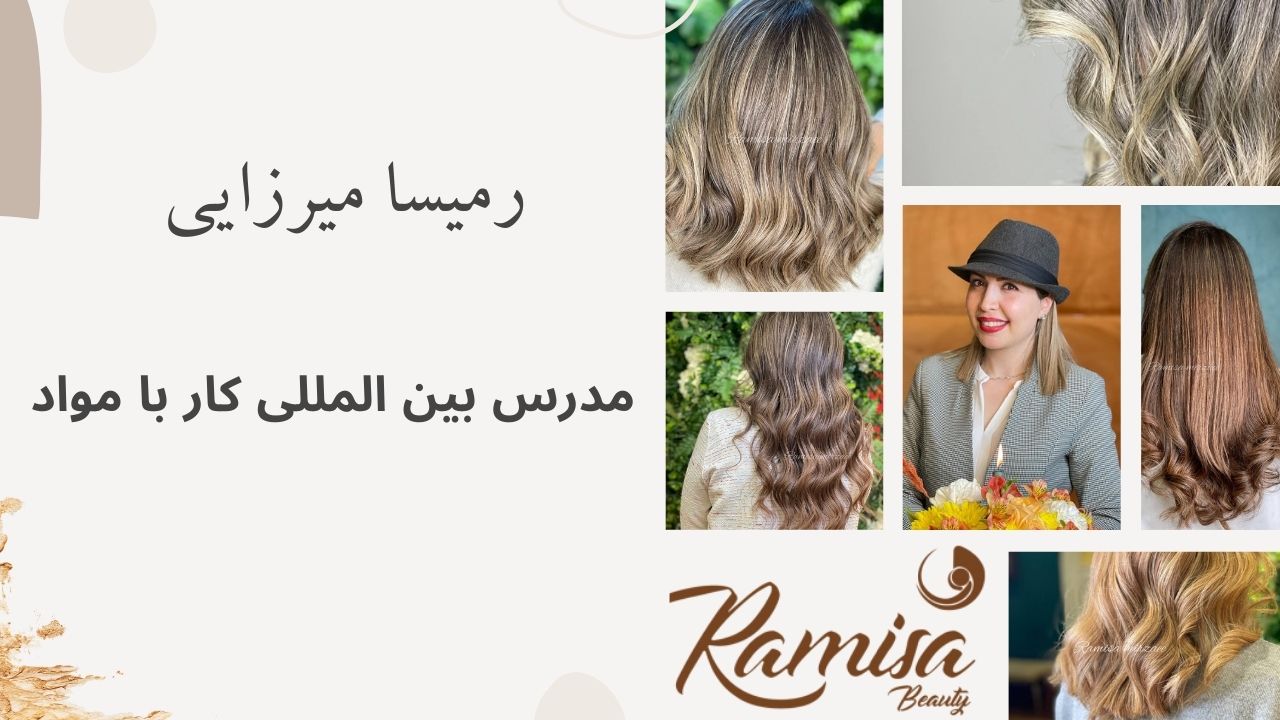
Greetings. I’m Zahra Karimi. I am a formula and hair dye expert and instructor. I am here with a tutorial on hair highlights.
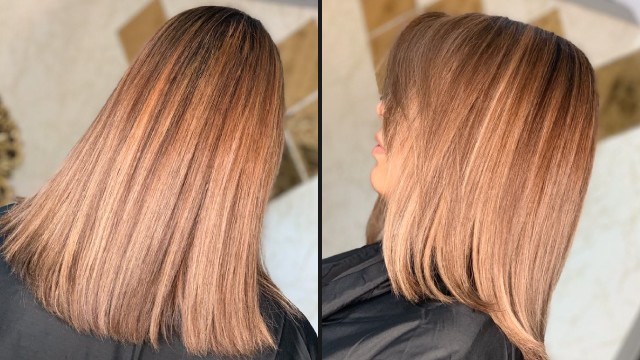
As you can see, the concept of hair separation in highlights is almost the same as Ombre. We have to separate the hair from the arch of the eyebrows in the form of a square. We’ve also separated the hair on the side of the ears on both sides. On the back, we’ve separated the hair into two parts. We could have separated the hair in one part but we did this because the back of the head was wide.
You can either have your highlights in a linear and even look where they are mirroring each other, or we can do them thin and erratic or thick and erratic. As I mentioned before, a linear highlight is a type of highlight, which is ordered and symmetrical. This symmetry and order only apply to the crown of the hair. For behind the head and on the sides of the head, we still use the same asymmetric or non-linear technique.
Let’s start sectioning the hair from the side of the ear. You can also start from the back of the hair, separate the hair, apply your highlight, and foil wraps until you reach the crown, then left, right and then the crown of the hair itself. Here, I want to show you this process starting from the front. This way you can have a better look at the process. For people who are new to this process, I would recommend starting in the front as well. I say this because if you are slow at wrapping your foils and the hair reaches the bleaching level you want before you are done wrapping the foil in the back, the hair won’t be damaged. You can remove the foil, rinse the hair, tie the hair with hair clips, and then do the highlights in the back with the ease of mind. This is the best way for people who are new to this process.
As you can see, we are going to separate a layer of hair. The way you separate the hair depends very much on whether the client wants a fuller highlight, a medium one or a sparse one. If the client wants a full highlight, meaning they want most of the hair to have a highlight, you will separate thinner layers. Now you have to choose the hair you want to highlight much closer to one another. If the client only wants the highlight to be applied to fifty percent of their hair, you can choose a thicker layer of hair and select a sparse batch from between the layer for the highlight. These are an important factor. Here, we assume the client wants a full highlight.
Select a thin layer of hair and separate parts of it. Bend the tip of the foil on the inside. The foil has a shiny side and an opaque side. You put the hair on the opaque side because the material won’t slip on it. We bend the tip of the foil layer because it can act as a cap and prevent leakage. Add some of the product on the foil after the bend. This will help the hair stick to the foil and you won’t need help hold the hair on the foil. Start adding the product on the hair a few centimeters below the root. If you add the product close to the top of the foil, it will leak because there will be too much product on that area. This is one of the most common causes of leakage.
Put one hand behind the foil to hold it and use your other hand to add the product to the hair. If your hair is longer than the length of the foil itself, bend it, put it on the foil, and add the product to it. Now that you have much less product on the brush, you can apply it to the top of the foil. Don’t apply it too close to the root because it can cause leakage. After applying the material, you can bend the foil like this. It’s better not to bend the foil width wise, because when the number of the foil wraps increases, it increases the heat and might cause a different level of bleach where the foil is bent. If you wrap your foil the right way, there’s a very small chance of leakage, specially for dark hair with a light highlight.
If you’re still concerned about leakage, take a piece of cotton and put it under the layer of foil wrap. Now separate your next layer and make sure it’s thin. Just separate the sections in an orderly manner. Make sure to apply the highlight to the front most layer of the hair, because when the hair is pulled back, the client wants to see a layer of highlight, unless they state otherwise. Now we have a very neat layer of hair. Take your next layer of foil and bend the top like before. Apply some material on the foil. Pull the hair up and put the hair on it. Since there's no material on this part, we don't have to worry about leakage. Apply material starting a few centimeters below the edge of the foil.
Make sure to apply the product across the whole hair to make your work easier when you want to check for bleach level later. Now that you’ve added the product to the lower parts, pick a bit of product and apply it to the top of the hair as well. Bend the foil the way I told you. Pick a layer of cotton and put it under the foil wrap. This is what we do on the side of the head. We will continue wrapping the layers in foil until the top. Keep in mind that this is a linear highlight. After wrapping the hair on the right and left side inside foil, move to the crown. For a linear and symmetric highlight.
You have to consider what the client wants. Therefore, if someone tells you they don’t want highlights on the middle of their bangs, you have to separate a thin layer on the front and leave it alone without a foil wrap. Start separating linear layers of hair after this point. Here you don’t pick sections of hair from the layer, you just put the whole middle layer inside a foil wrap. Later after your dye, if you do a split section on the front, you will have a highlight on both sides in a symmetrical format. If someone wants to have a highlight starting from the first layer, we will do the same thing for this layer as well. Let’s assume our client doesn’t want the first layer to have a highlight. Make sure this layer is very thin.
Bring your foil and add some material on it, put the hair on the foil and make sure the hair sticks to it. Since the material is not added to the top of the foil, we are sure there will be no leakage. Now that the hair is fixed on the foil, we can start adding our material to the hair. Bend your foil and add a layer of cotton under it if you see fit and move to the next layer. For an erratic or asymmetric highlight, you have to select sections of the hair from the layer, but for a linear highlight, you put one layer inside the foil and leave the next layer without a highlight. Separate your next layer and make sure they are in the same size and order. Wrap the next layer in the foil and continue like this until you reach the crown.
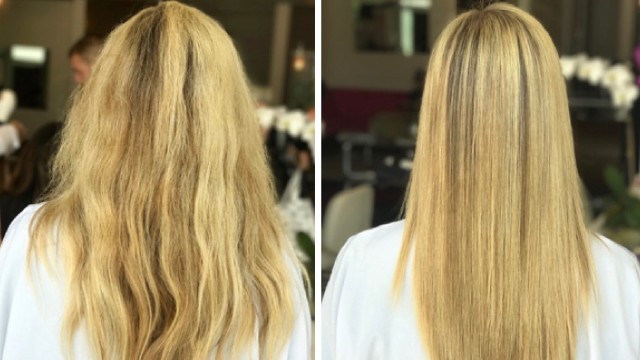
Complete the wraps on the back of the head as well and then check your foil wraps. While checking, make sure not to move the foils or cotton pieces to avoid causing a leakage. After reaching the bleach level, you want, rinse the hair and prepare it for the dye.
I hope you have enjoyed this tutorial. If you want to learn this process in a more professional setting and manner, you can join my classes. To join my classes, please contact me at the numbers provided in the description. Until next time, goodbye.